Mapping out a gravel route

Mapping out a gravel route

One question that often crops up when we're cycling is, “Where are we going?”. Check out our ideas for finding new gravel trails and creating your own routes.

Mapping out a gravel route One question that often crops up when we're cycling is, “Where are we going?”. When you're starting out, it's fun just to discover the trails close to home, but after a while you want to venture further afield. Luckily, there are a few ways you can find new gravel routes, either by following signs or making use of a route-planning app. 

What terrain does gravel riding involve?

First up, let’s take a look at the most comfortable gravel-riding terrains. As it’s name suggests, gravel involves riding on gravel tracks and paths covered in stones, but it also encompasses riding on looser surfaces such as forest trails and on tarmac, cobbles, and mud. You need to watch out, though, when riding on dirt tracks in the countryside. When the mud dries out, it can make things pretty uncomfortable.

This info can help you decide which type of trail you want to ride on when creating your gravel route.

Mapping out a gravel route

Option 1: follow the signs

If you're not keen on creating your own route, there are a lot of tourist trails in France that are clearly marked with green signs. You'll find them all at francevelo-tourisme.com. 

Most of the time, these routes will take you down pleasant country roads, but the site does list some MTB routes that are a whole lot closer to gravel. And in Belgium, the Netherlands and northern France, you can also make use of a system based on intersection marker points called points-noeuds. At each intersection stands numbered signs that help you find your way around by simply noting down the numbers of the marker points you want to follow on a small piece of paper that you stick to your handlebars.

Mapping out a gravel route

Option 2: use an app

If you'd rather follow a gravel route that's already marked out, then use a route planning app like Komoot. With the paid membership option, you can follow routes created by other users using GPS navigation integration, which means all you have to do is choose your riding activity, starting point, ride duration and level of difficulty and then save the route for later or go straight to navigation. Riding a gravel route couldn't be easier. If you want to create your own route and get off the beaten track in search of new locations, Komoot can also help you. Let me explain, step by step, how I create my own gravel routes.

Tip no. 1: Make sure you're sitting comfortably at your PC. Creating a route can take time, but it's much easier and more practical to do it on a big screen, where you can have several windows open at the same time with several different base maps. You can use Google Maps, Strava Global Heatmap, or another base map on Komoot.

Step 1: have an idea of what you want.

To help you create your gravel route, ask yourself these four questions:

1. Which types of surface am I prepared to ride on?

2. Are there any places I need to be on my route? (such as popping round to mum's to pick up some jam, finding a spot to watch the sun go down, or a baker's where I can find a nice sandwich).

3. What's my destination or am I doing a round trip?

4. How far am I willing to ride? You should know that riding a 70km route on a gravel bike takes twice as long as a road ride over the same distance because you can't go as fast. Once that you've mapped out the basics, you can move on to the next step. There's no need to be too fixed in your ways. I often start with a very clear idea in my head and end up with a totally different route because I wasn't happy with what I saw or found something else much more appealing. It's just a question of knowing where to start.

Step 2: komoot, the ultimate cycling route planning app

If you're a purist, you can create your route the old-fashioned way using an Ordnance Survey map you picked up from your local bookshop. That’s not necessarily the most practical option, though, because you can’t zoom in or zoom out on a paper map, they get wet when it rains, you need to have space to unfold them, and you also have to work out the distance of your route. 

Paper maps are nice and all and they add to the sense of adventure, but let's face it: they're not exactly very practical. A better option in my eyes is Komoot, a cycling route app you can use to map out routes free of charge. I prefer to pay for membership, though, because it gives you a whole lot of features like GPS navigation and maps for each type of riding, like MTB base maps. You can also create collections. I went for a Premium account, which gives me access to all the app's features. I use Komoot like a GPS navigation device when I'm out for a half-day ride, by attaching my phone to my handlebar with a smartphone mount. If I'm out for a longer ride or it's raining, I use a dedicated GPS device to make sure I have enough battery for the day. 

The app is compatible with Garmin and Wahoo GPS devices. Alternatively, you can always extract the GPX file. If you don't have a GPS device, you can download routes offline, put your phone in flight mode and use voice guidance. This will let your battery last longer. Komoot is a pretty easy app to use but it does take a little while to get used to all its different features. When you first open it, it can seem a little complex.

To get started, I choose:

1. The type of sport that most closely matches what I want to do: “Gravel” or “Bike Ride”.
2. The starting point (if it's an SNCF railway station, they are not always listed in searches, though you can usually find out where they are by looking to see where the lines come together).
3. You should say if you're doing a round trip. If you set a fixed distance for your ride, the app will calculate the number of kilometres on the route as you go.
4. The points of interest I want to see on a gravel route, like beauty spots, places to eat, accommodation, mountain passes, etc. It's always good to know there's somewhere you can eat if you find yourself somewhere remote and out of supplies. Just click on the search bar and select the points of interest you want to see. (Premium membership gives you access to more points of interest).

Mapping out a gravel route

5. In the base map, click on the small square at the top right, below the + and - symbols.

Mapping out a gravel route

There are four free maps, three of which are especially useful. I always use the Komoot map to start off with. It shows the points of interest and the surrounding area clearly. Then there's the Opencycle Map , which highlights dedicated cycleways, the points noeuds (route intersections) in certain parts of France and Belgium, and other routes for cycling. And, finally, there's the satellite map, which shows the type of landscape and type of trail. 

My tip: I often start out with the Komoot map and then change the base map so I can display as many things as possible, such as paths for cycling, tourist attractions, beauty spots, etc.

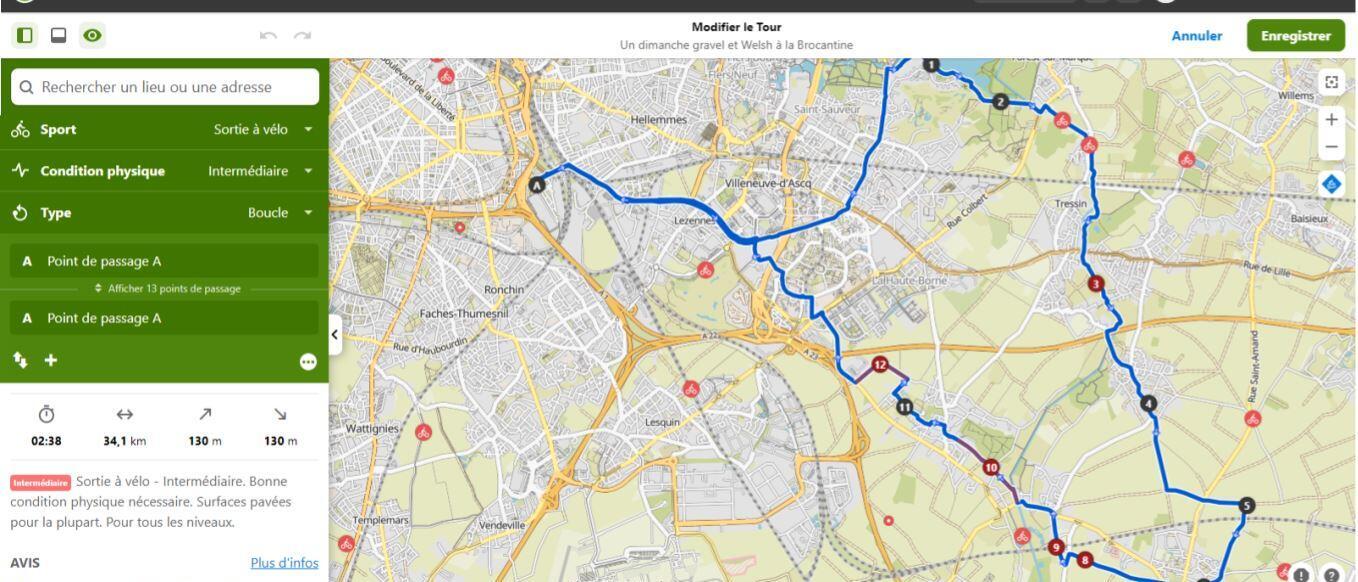
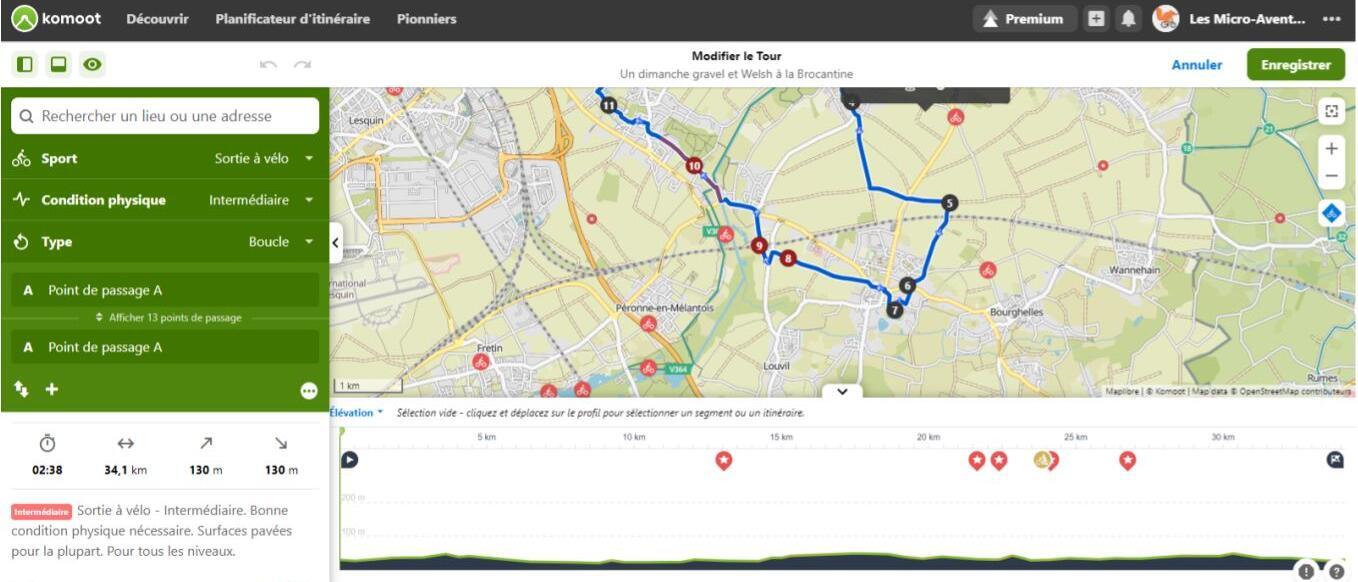
Step 3: create your route

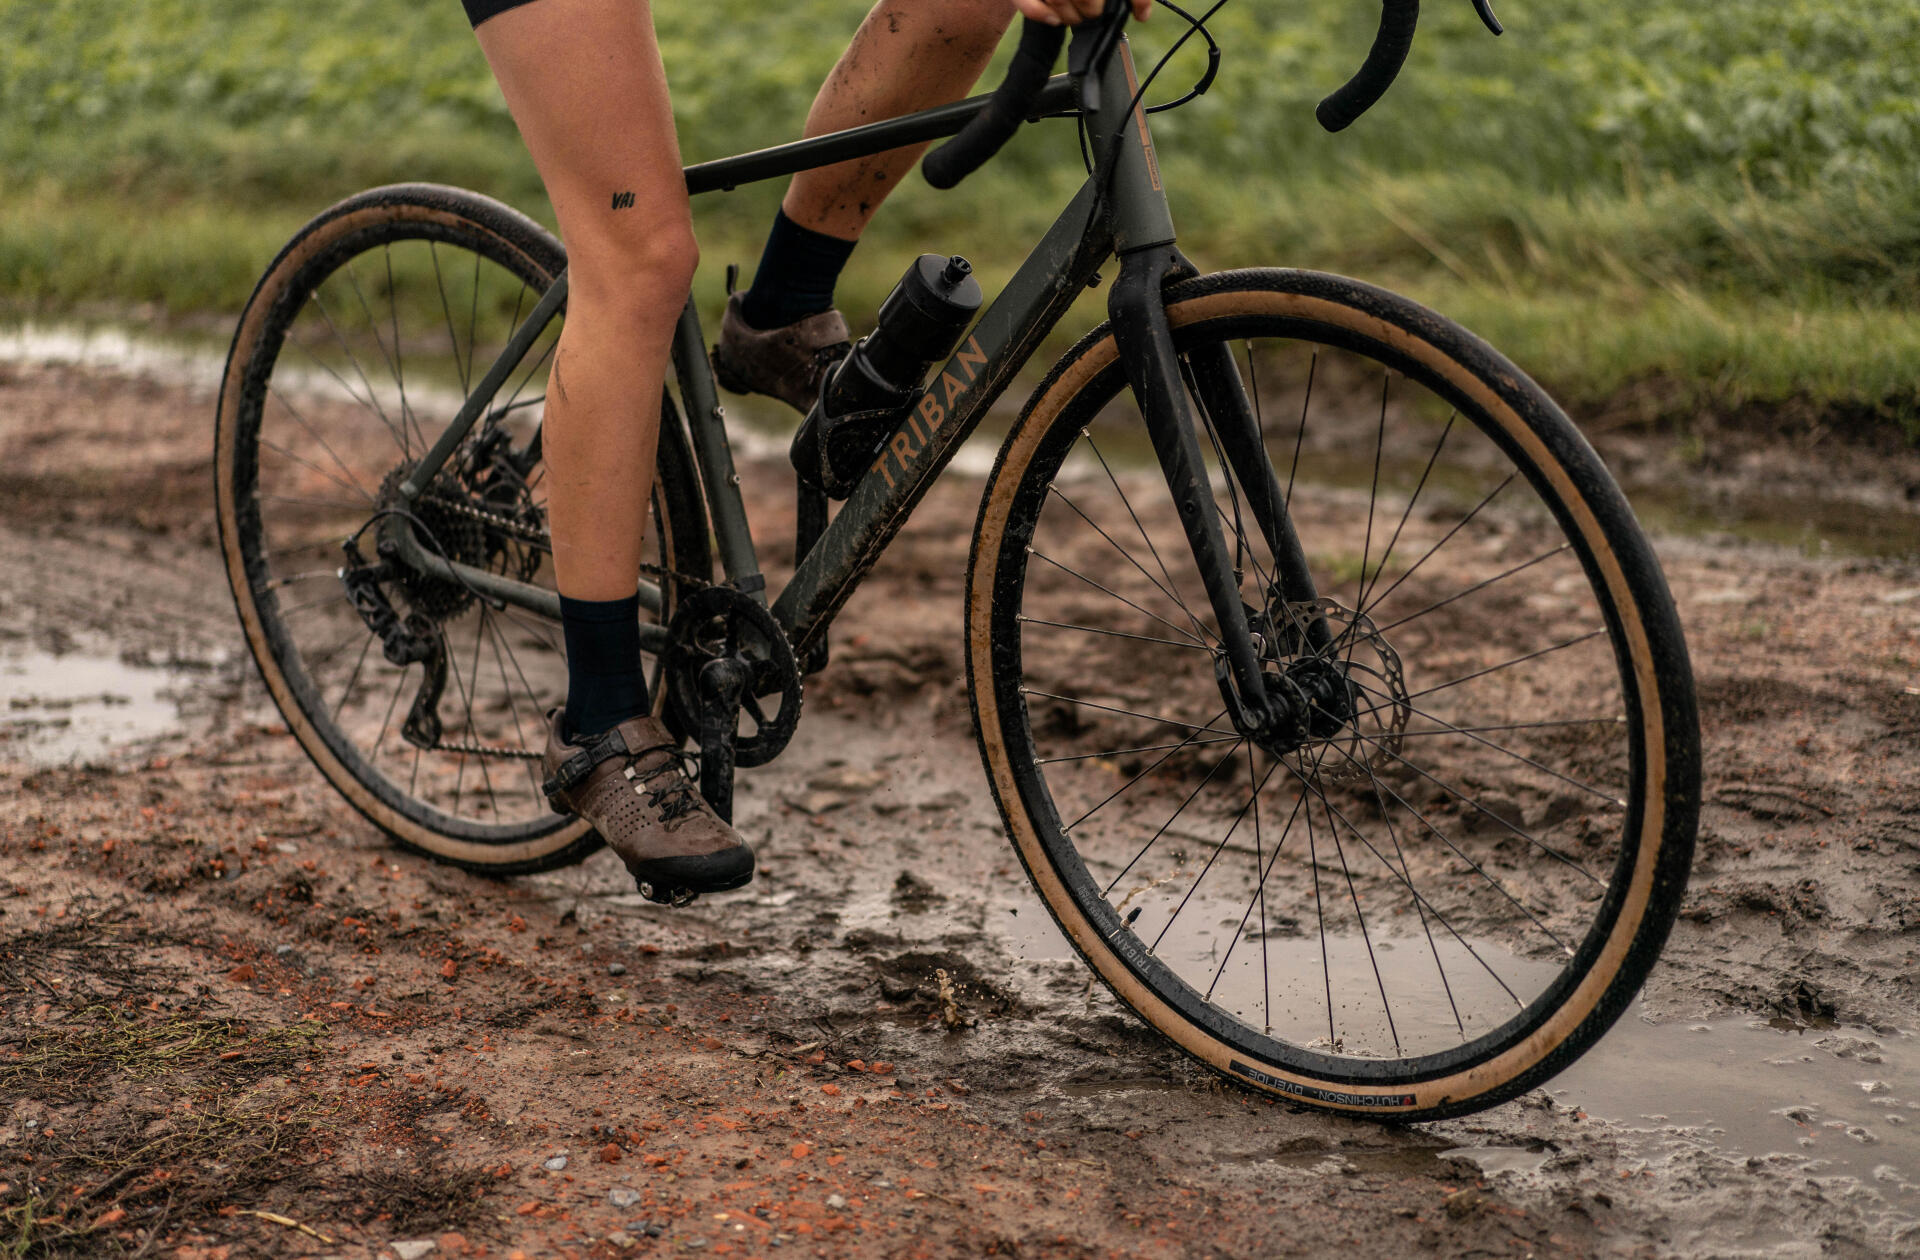
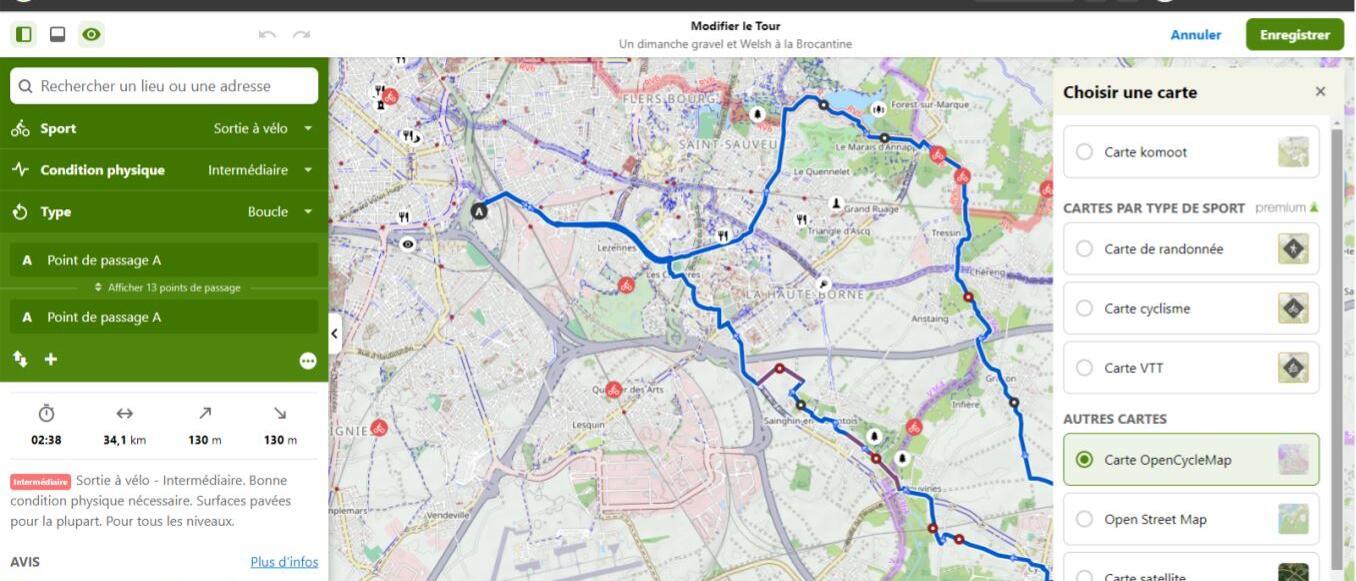
Now that you’ve got an idea of where you want to ride and all the options open to you, all you have to do is make your choice. Gravel riding isn't the same as road cycling so you should generally try to select as many unpaved roads as possible. This will leave you with all the dirt, gravel, forest and farmland tracks. On a Komoot map, the routes we're interested in are tracks, which are indicated with a solid, dashed or dotted brown line (the smaller the dots, the trickier the track is to negotiate), paths (a black line), and cycleways (a green line). Try to avoid yellow routes as much as you can and the big white routes. Quick tip: Click "M" on your keyboard/keypad to make your route disappear. It's very useful for finding out which road you're on.

The cycleway route option: When there are no gravel alternatives, it's sometimes worth checking out routes using the cycleways marked out in green in Komoot, especially when you have to cross major roads. The green lines also provide useful information for spotting cycleways such as les voies vertes ("green routes").

Option 1: I know where I want to go
If you know your destination, Komoot will automatically create a route for the riding mode you choose (MTB, bike ride, road bike, etc). You can then customise it by making it longer or choosing points of interest, etc.

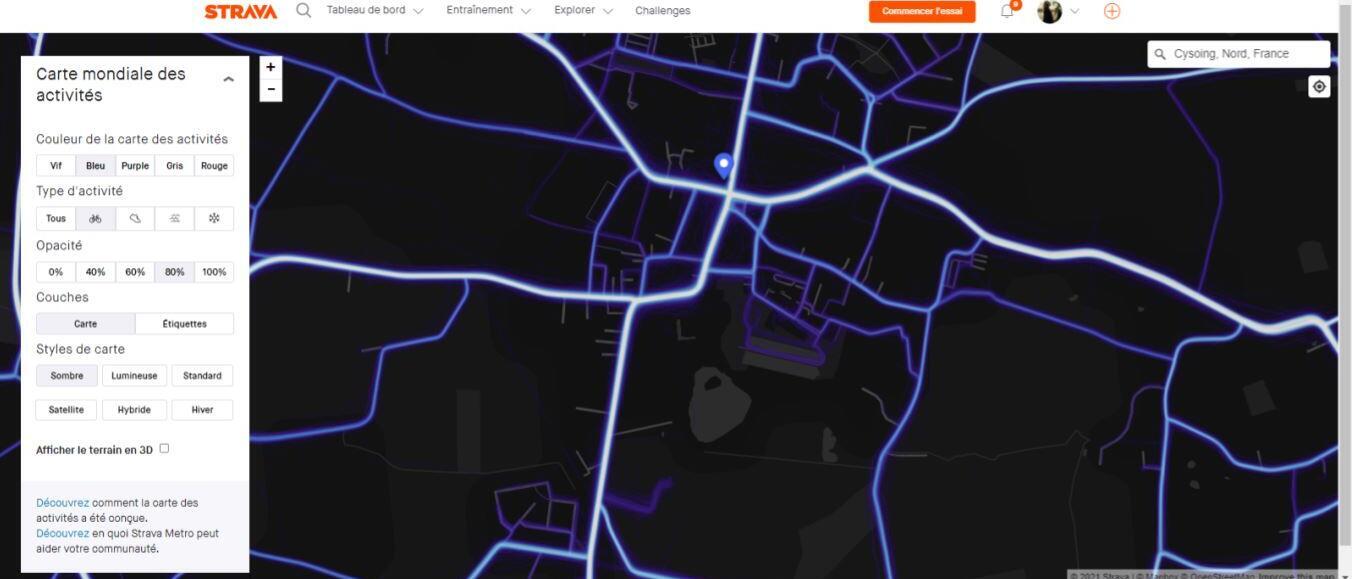
Option 2: I don't know where I want to go
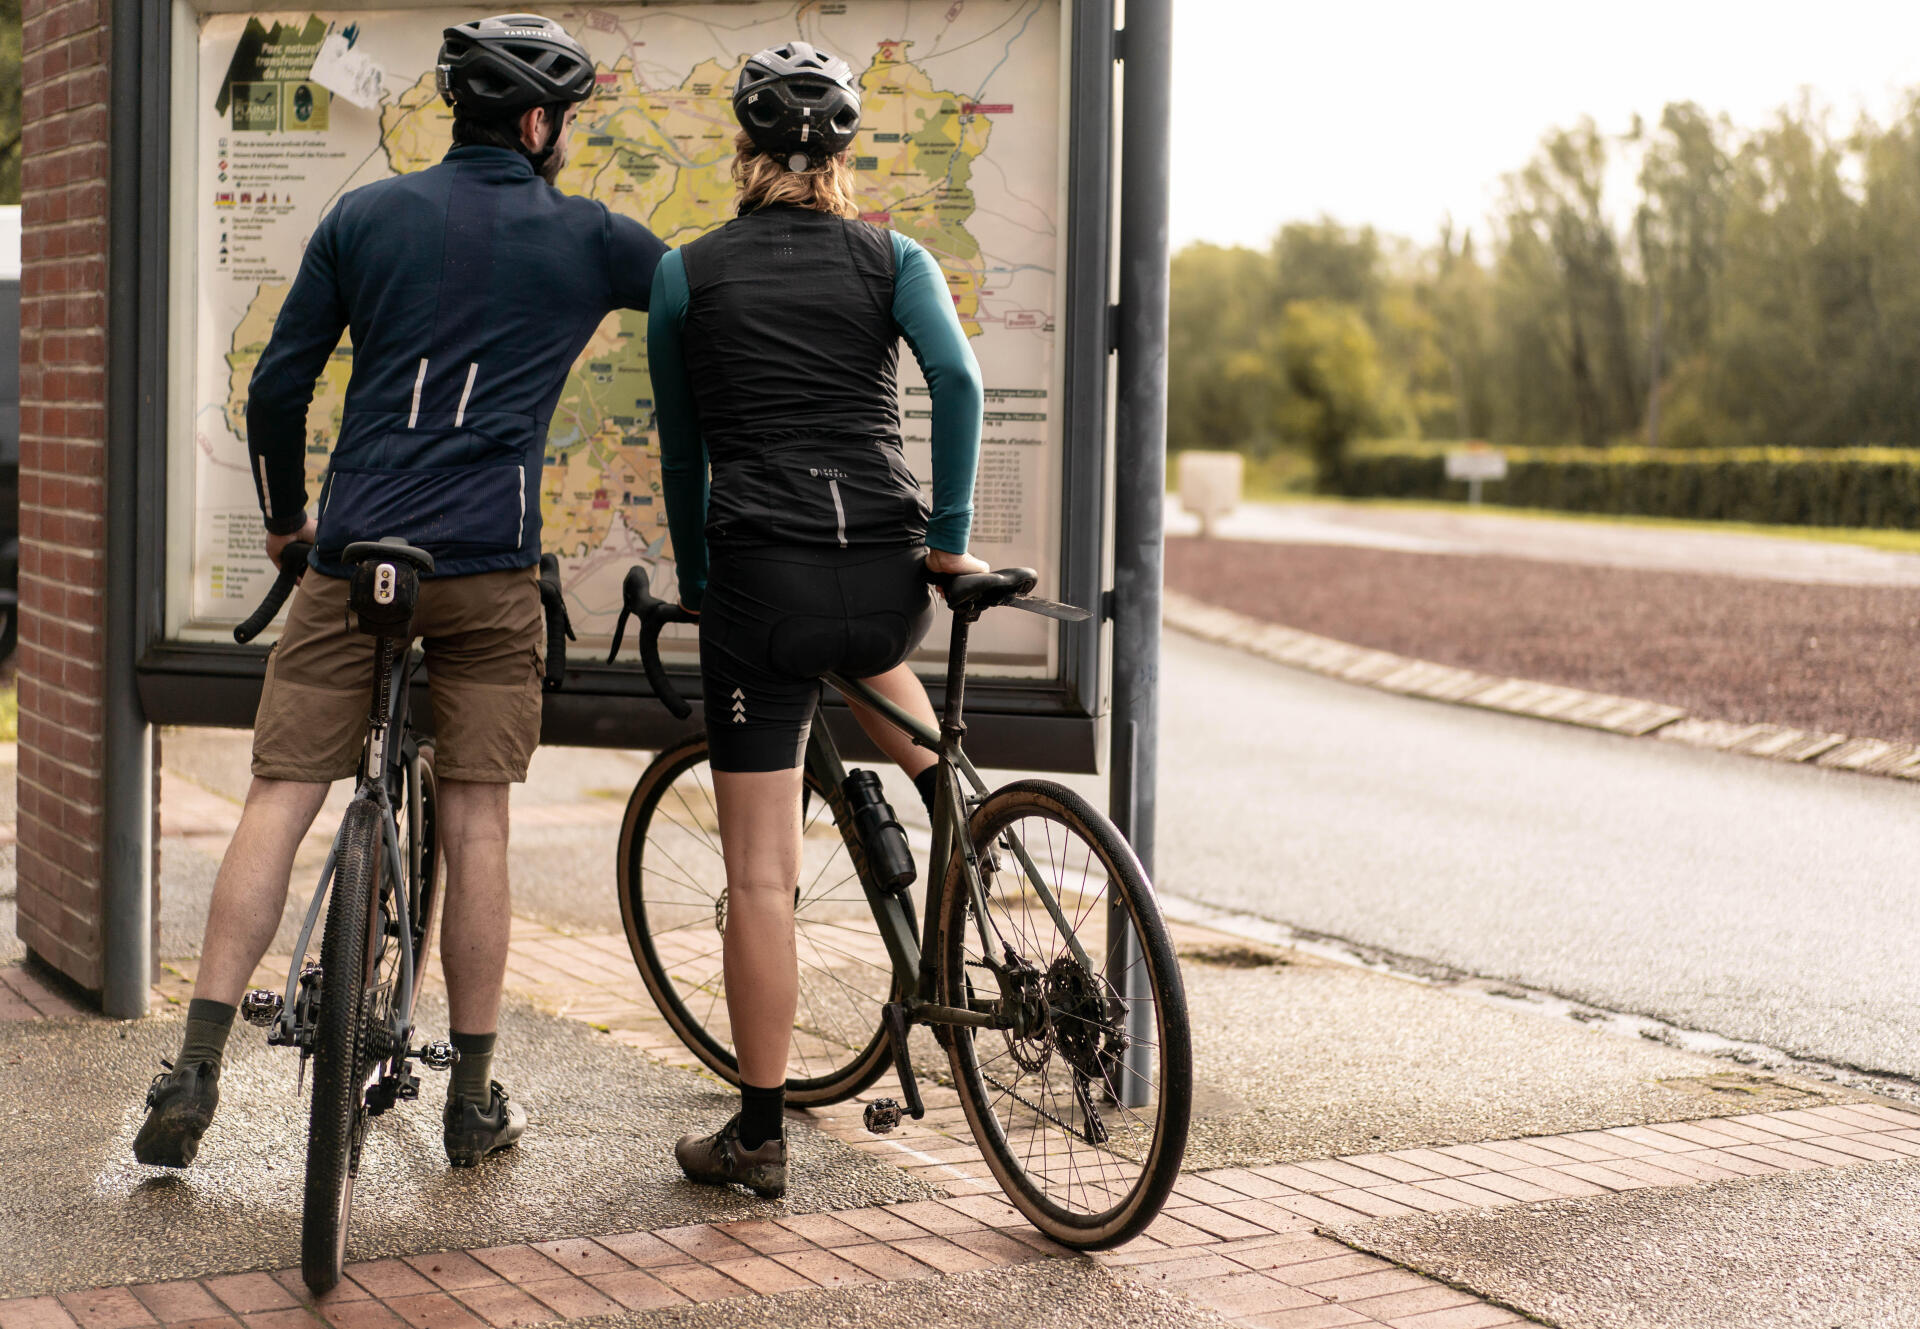
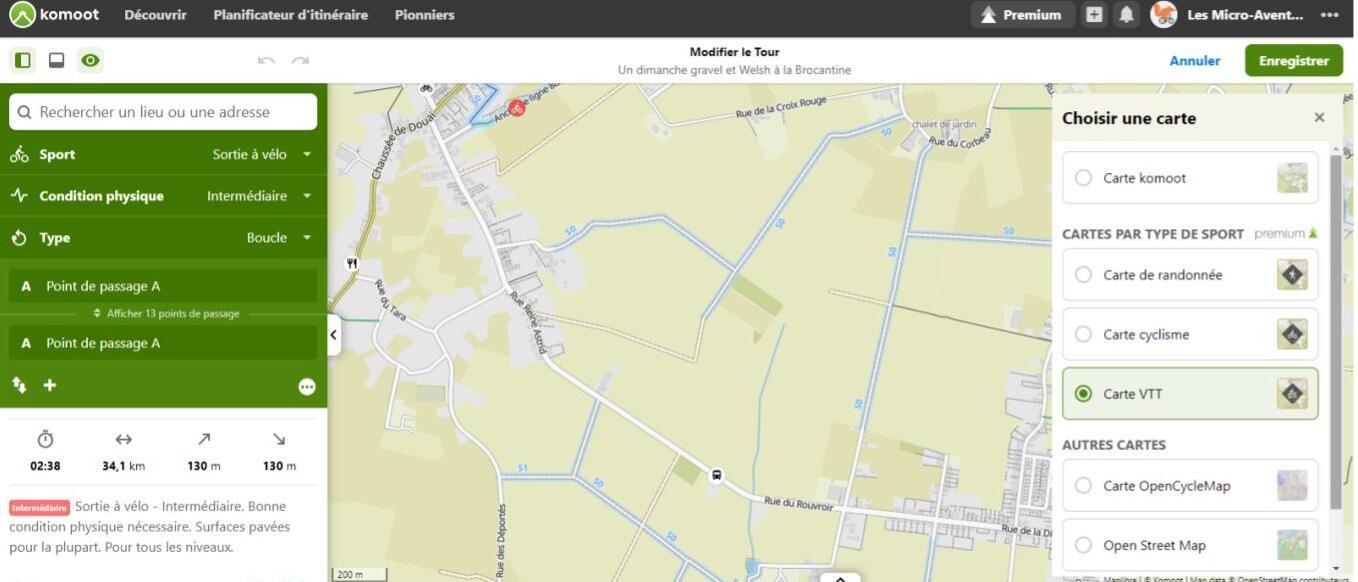
When you don't have a clear idea of where you're headed, the best thing to do before you create a route is to check out a tourist map of the area. I often start with the Komoot map and then change the background to show up as many things as possible, such as les voies vertes, tourist attractions, beauty spots, woodland, highest points, and points of interest suggested by other Komoot users. Once I've got an overview of my options, I can start to create a route by linking my points of interest. I can then develop the route by picking out the paths, trails and tracks that interest me, either by creating waypoints or by dragging the route line with the cursor to the routes selected. If Komoot stops you from taking a certain route, it may be because it's a one-way street or because access is blocked. In this case, you can either trust Komoot or check it (see Step 4). It may sometimes be the case that there are very few or no gravel routes in the area you've chosen, in which case you might want to change your starting point.

Step 4: check your route

You don't really need to do this for road routes and it's not essential for gravel ones, but it can be really useful. It can make all the difference between a great route and a beginner's route. We've all been there! We've all cursed someone who came up with a route that takes you through banks of stinging nettles only to come to an end at a wall, with no other way out than to go back through the nettles. And if you're the one who created a route taking your friends for a ride through the nettles, then that's not any better. So once you've created your draft route, the best thing you can do is check all the gravel sections, i.e. the dotted tracks and black trails.

GOOGLE MAPS
Street View in Google Maps is a good tool for checking out paths. However, the gravel tracks that we're interested in aren't always visible in Street View. It's still useful, though, for getting an idea of what the start of a track is like and the signage. You might, for example, be tempted to add a walking or hiking trail to your route only to find out in Street View that cycling is not allowed or that the trail's too narrow for a cyclist to overtake a hiker. Note: Using Google Maps to create a route is a surefire way of getting lost. It will always take you on the most direct route and is sure to lead you down private and A roads. Take it or leave it.

STRAVA GLOBAL HEAT MAPS

If you want to make absolutely sure that the route you've created is one you can actually ride on, then I recommend you use Strava Global Heat Maps. The site is free. All you have to do is sign up. I mainly use it for the tracks marked with dotted lines or in black on Komoot. It stops me from taking very rough tracks or paths overgrown with blackberries and nettles, which are no fun to negotiate when you're wearing shorts. Strava Global Heatmap tells you how many times Strava users have ridden each path, which gives you a good idea of how much they're used. I use the dark map style with activities highlighted in blue and opacity set at 80%. I find that the best look. The brighter and thicker the paths, the busier they are; the darker and thinner, the quieter they are. It's pretty reliable. If a path appears as very dark on the map, it may be because it's a private one or because it is not passable. I for one will be giving it a swerve. It's up to you to choose what kind of adventure you want.

Mapping out a gravel route

CHECK THE CLIMBS

You might forget sometimes to check the elevation profile and end up on an extremely tricky climb when taking another route would have meant a gentler slope. Komoot has a little arrow at the bottom of the screen that shows you the elevation profile. The more vivid the colours (red and violet), the steeper the slopes. It's very useful when it comes to choosing which path to take. Could a road climb be easier than a gravel climb? Is it worth taking a little detour to avoid a 12% incline? The same goes for descents. Are you happy tackling steep gravel descents or do you prefer taking road? If you want my opinion, I tend to avoid paths with inclines above 8%.

Mapping out a gravel route

MTB BASE MAPS

The MTB base map in Komoot Premium sometimes rates path difficulty on a scale of 0 to 5, which can be really useful. Paths rated S0 and S1 are not especially difficult and are perfect for a gravel route. S0 and S1 paths are usually indicated in light blue.

Mapping out a gravel route

There you go! I think I've covered everything.You're now ready to create your own gravel route and explore new paths at your own pace. Here are a couple more tips to make sure you're absolutely ready:
1. Save your route offline. It's always handy.
2. If you're riding on woodland or farmland paths, make sure you wear a hi-vis jacket and check beforehand if it's a hunting day in the area. It could save you a nasty surprise!
3. If you start to feel fatigued, don't wait till you get to a bakery for something to eat. Always take an energy bar with you.

Mapping out a gravel route

Lucie

I'm out on my bike every weekend to get my dose of fresh air and find out everything my region has to offer. And while I'm out and about I find some real gems. I have a website too: www.les.microaventuresdelulu.com. Why? To encourage as many people as possible to take the "path" to freedom every day.

These contents may interest you

What is a gravel bike?

What is a gravel bike?

Halfway between a road bike and a mountain bike, the gravel bike lets you ride on country lanes, gravel trails, dirt tracks and byways. Gravel riding is a fun, varied sport that's super enjoyable no matter how experienced you are.

What kit do you need for gravel biking?

What kit do you need for gravel biking?

Have you just started gravel biking but aren't sure what equipment you need? Here's our list of everything you'll need to ride comfortably!

How to inflate your tyres for gravel

How to inflate your tyres for gravel

Having the right air pressure in your tyres for riding gravel is important because it influences the behaviour of your bike. Read our tips on how to find the right pressure level and enjoy your gravel adventure to the max!

Tips for getting started with gravel cycling

Tips for getting started with gravel cycling

Thinking about getting into gravel but don't know where to start? This beginners' guide is for you! 

What should you wear for gravel riding in any weather?

What should you wear for gravel riding when it's cold and rainy?

Struggling to find a weather window when you can head out on your bike? Follow our tips on all the right gear to wear when gravel riding in absolutely any weather!