How to equip your gravel bike for bikepacking

How to equip your gravel bike for bikepacking

Heading off bikepacking with your gravel bike but not sure what kit you need? Which bags should you choose? Take a look at our tips!

There are three ways of travelling by bike. First of all, there's bike touring. This is all about taking things slowly and comfortably over long distances. It's generally done with a pannier rack and large pannier bags. At the other end of the spectrum, there's light backpacking, which is generally done for micro adventures or ultra-distance cycling competitions. Lastly, there's the type of travel that I'm going to be talking about in this article: long-term bikepacking. This type of cycling is done over long distances, with rides lasting from several weeks to several months, travelling as light as possible to give yourself a bit of a workout along the way. So, which kinds of bags do you need for long-term bikepacking?

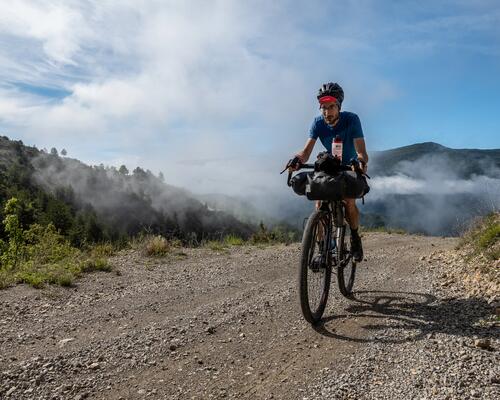
1/ Which bike should you take bikepacking?

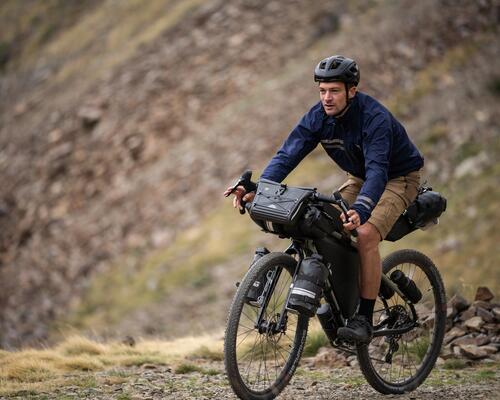
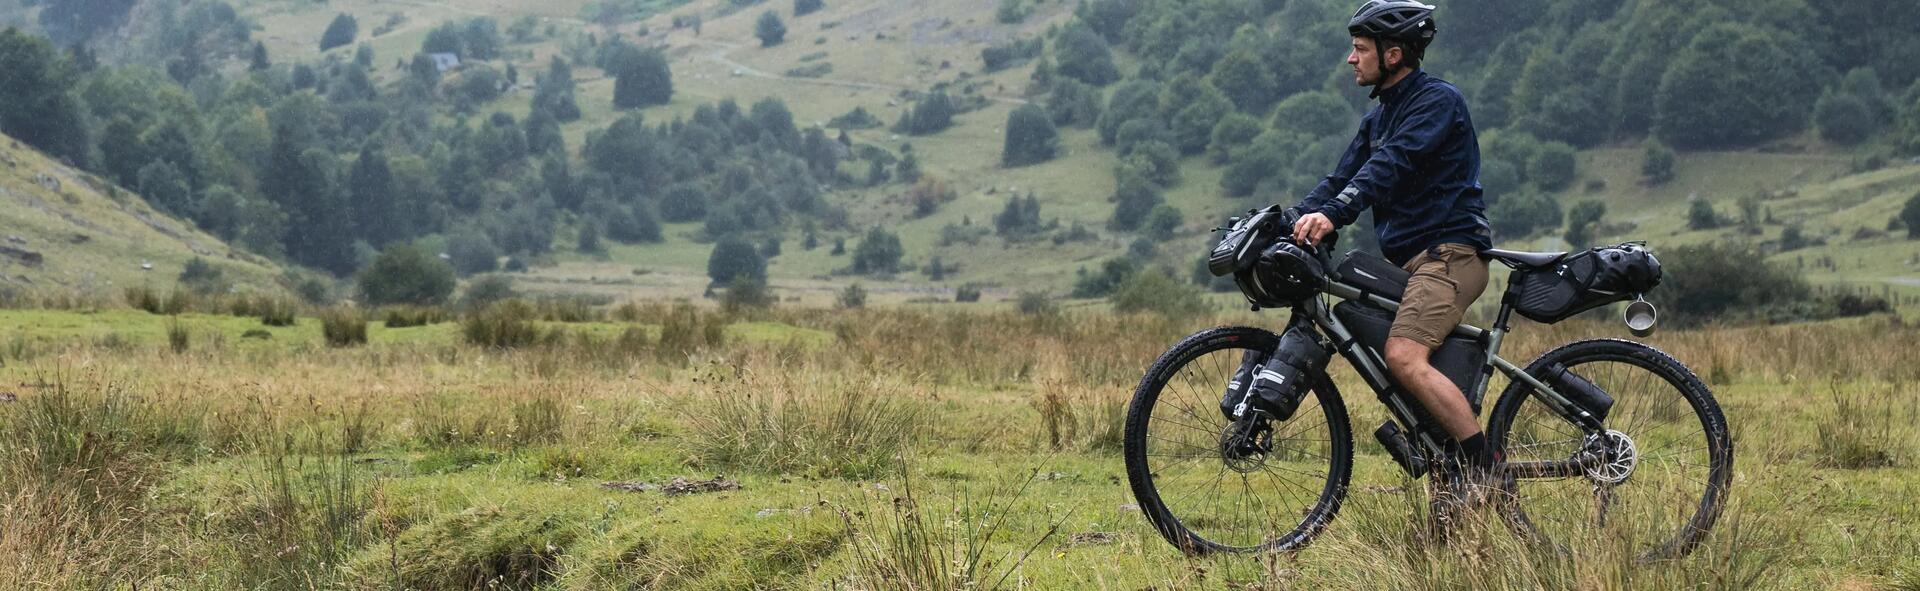
Before kitting out your bike for bikepacking, let's do a quick recap of the type of bike to choose for this kind of adventure. Your bike will be carrying around 10 to 20 kg of extra weight, so we can rule out carbon straight away. Pick a steel or titanium bike, or even an aluminium one.
Above all, pick a comfortable bike that won't cause you any pain or discomfort. Ideally, use a bike that you're used to riding, or that you've had time to train on. People generally use road handlebars so that they can vary their back, neck and shoulder position.

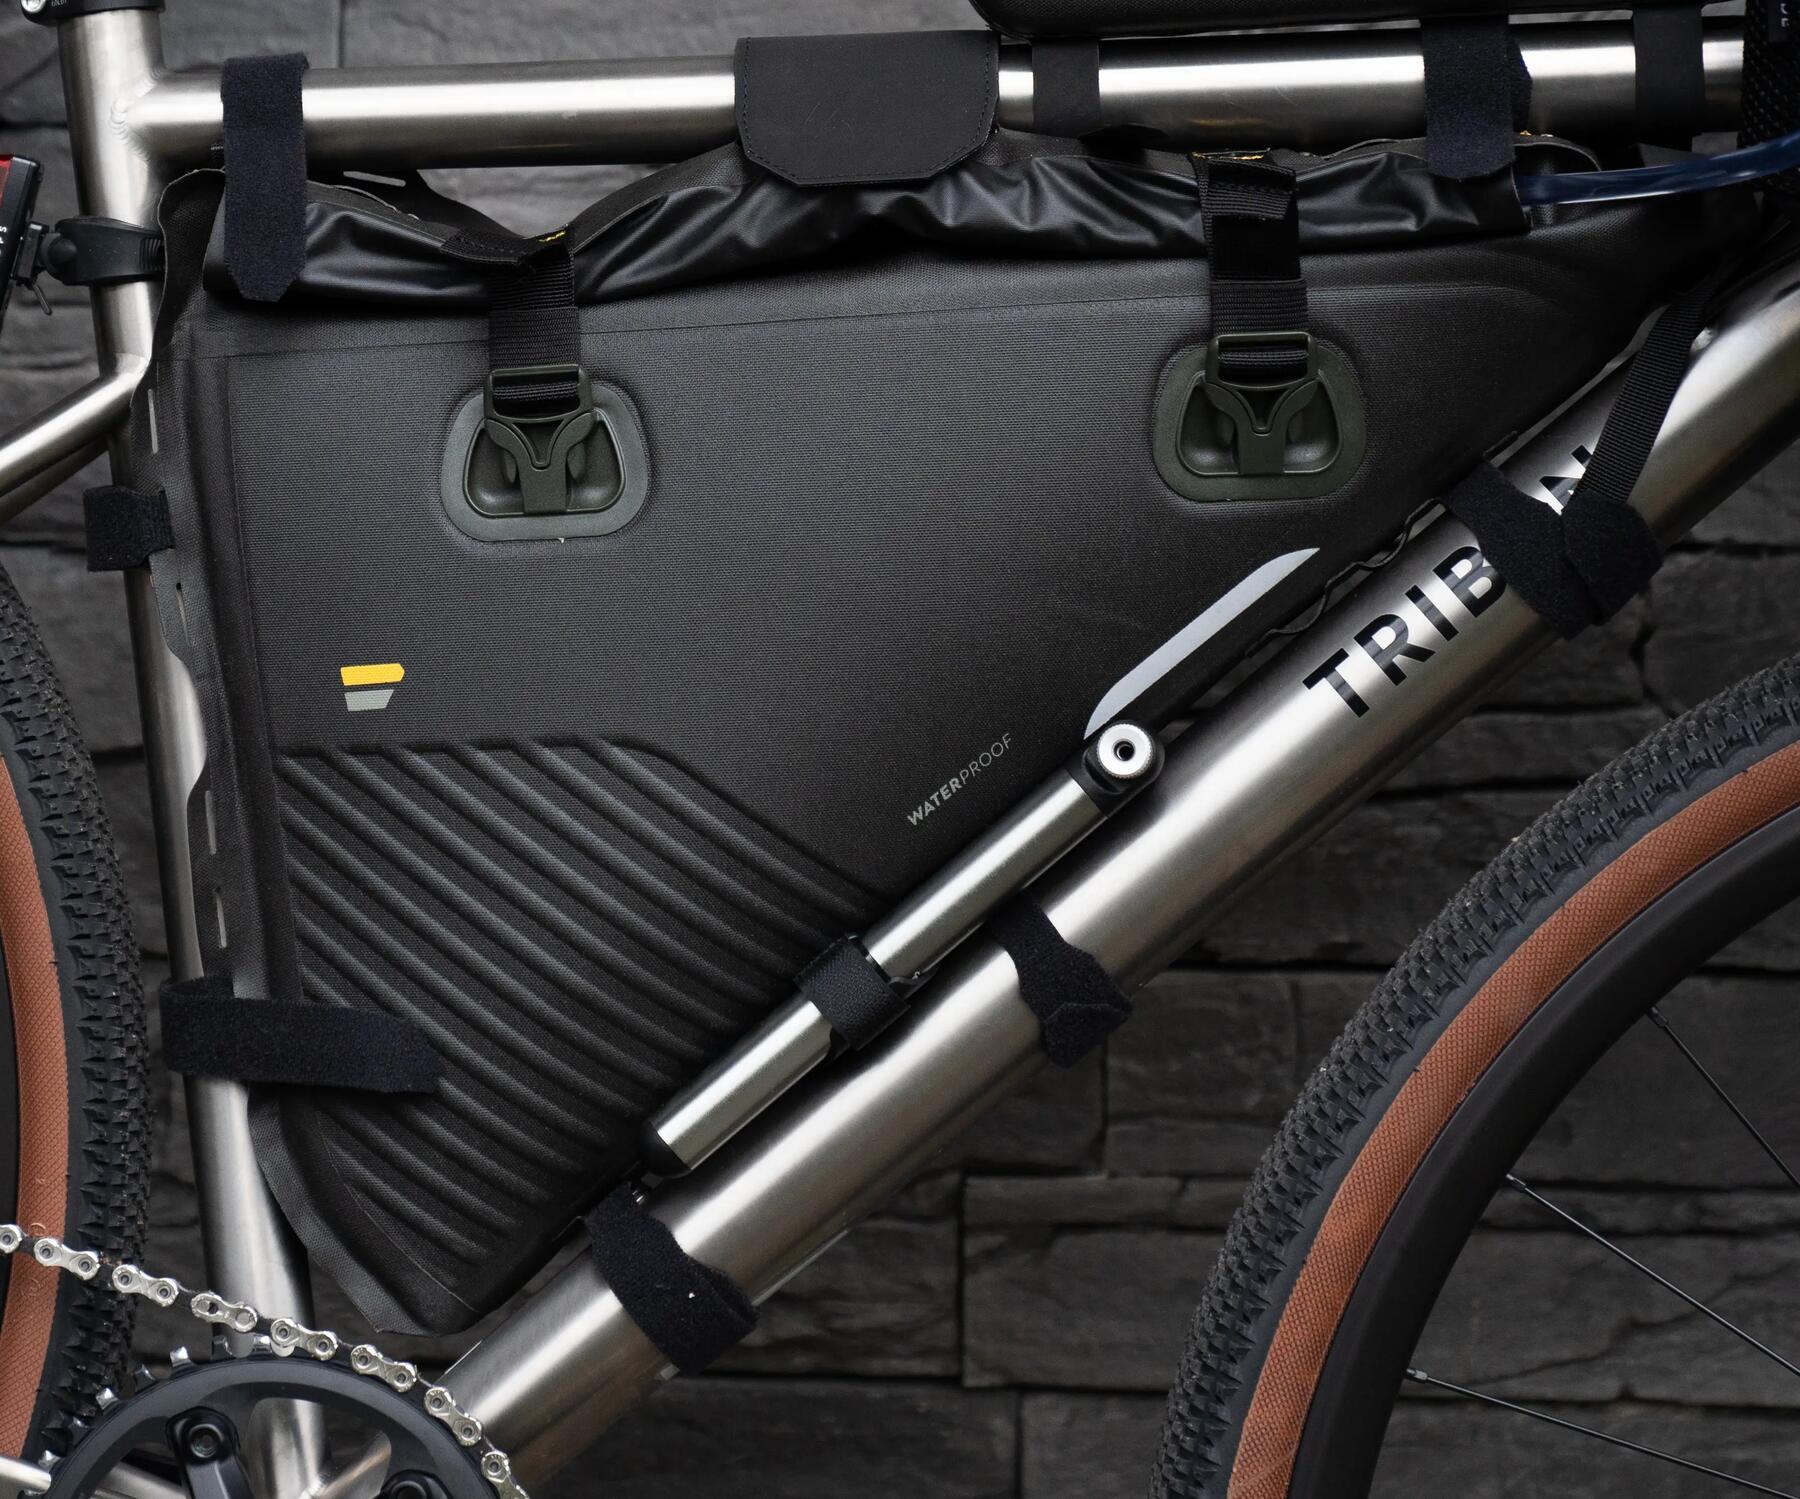
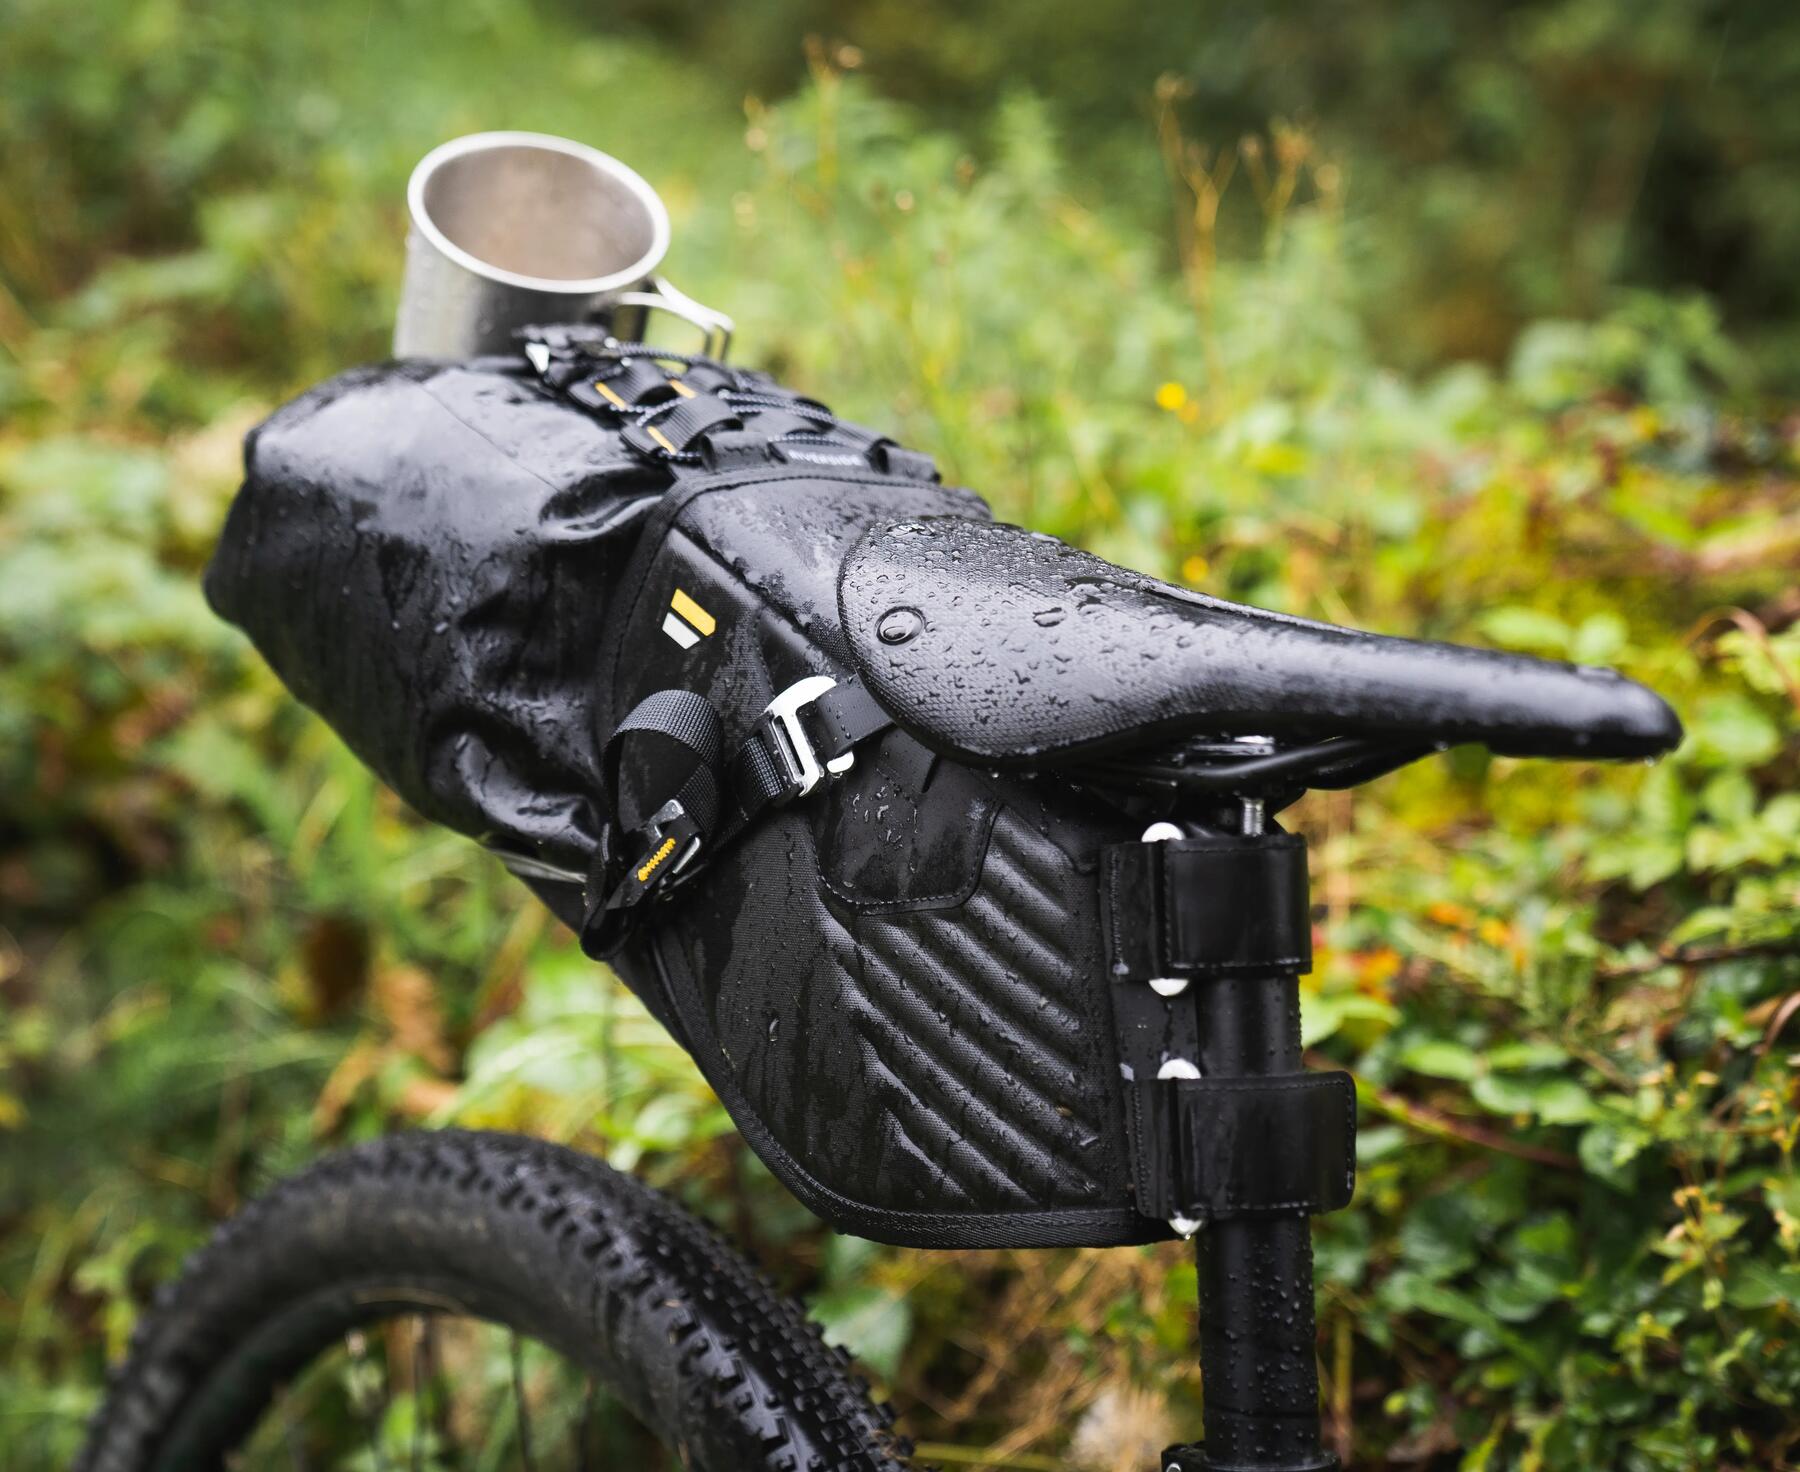
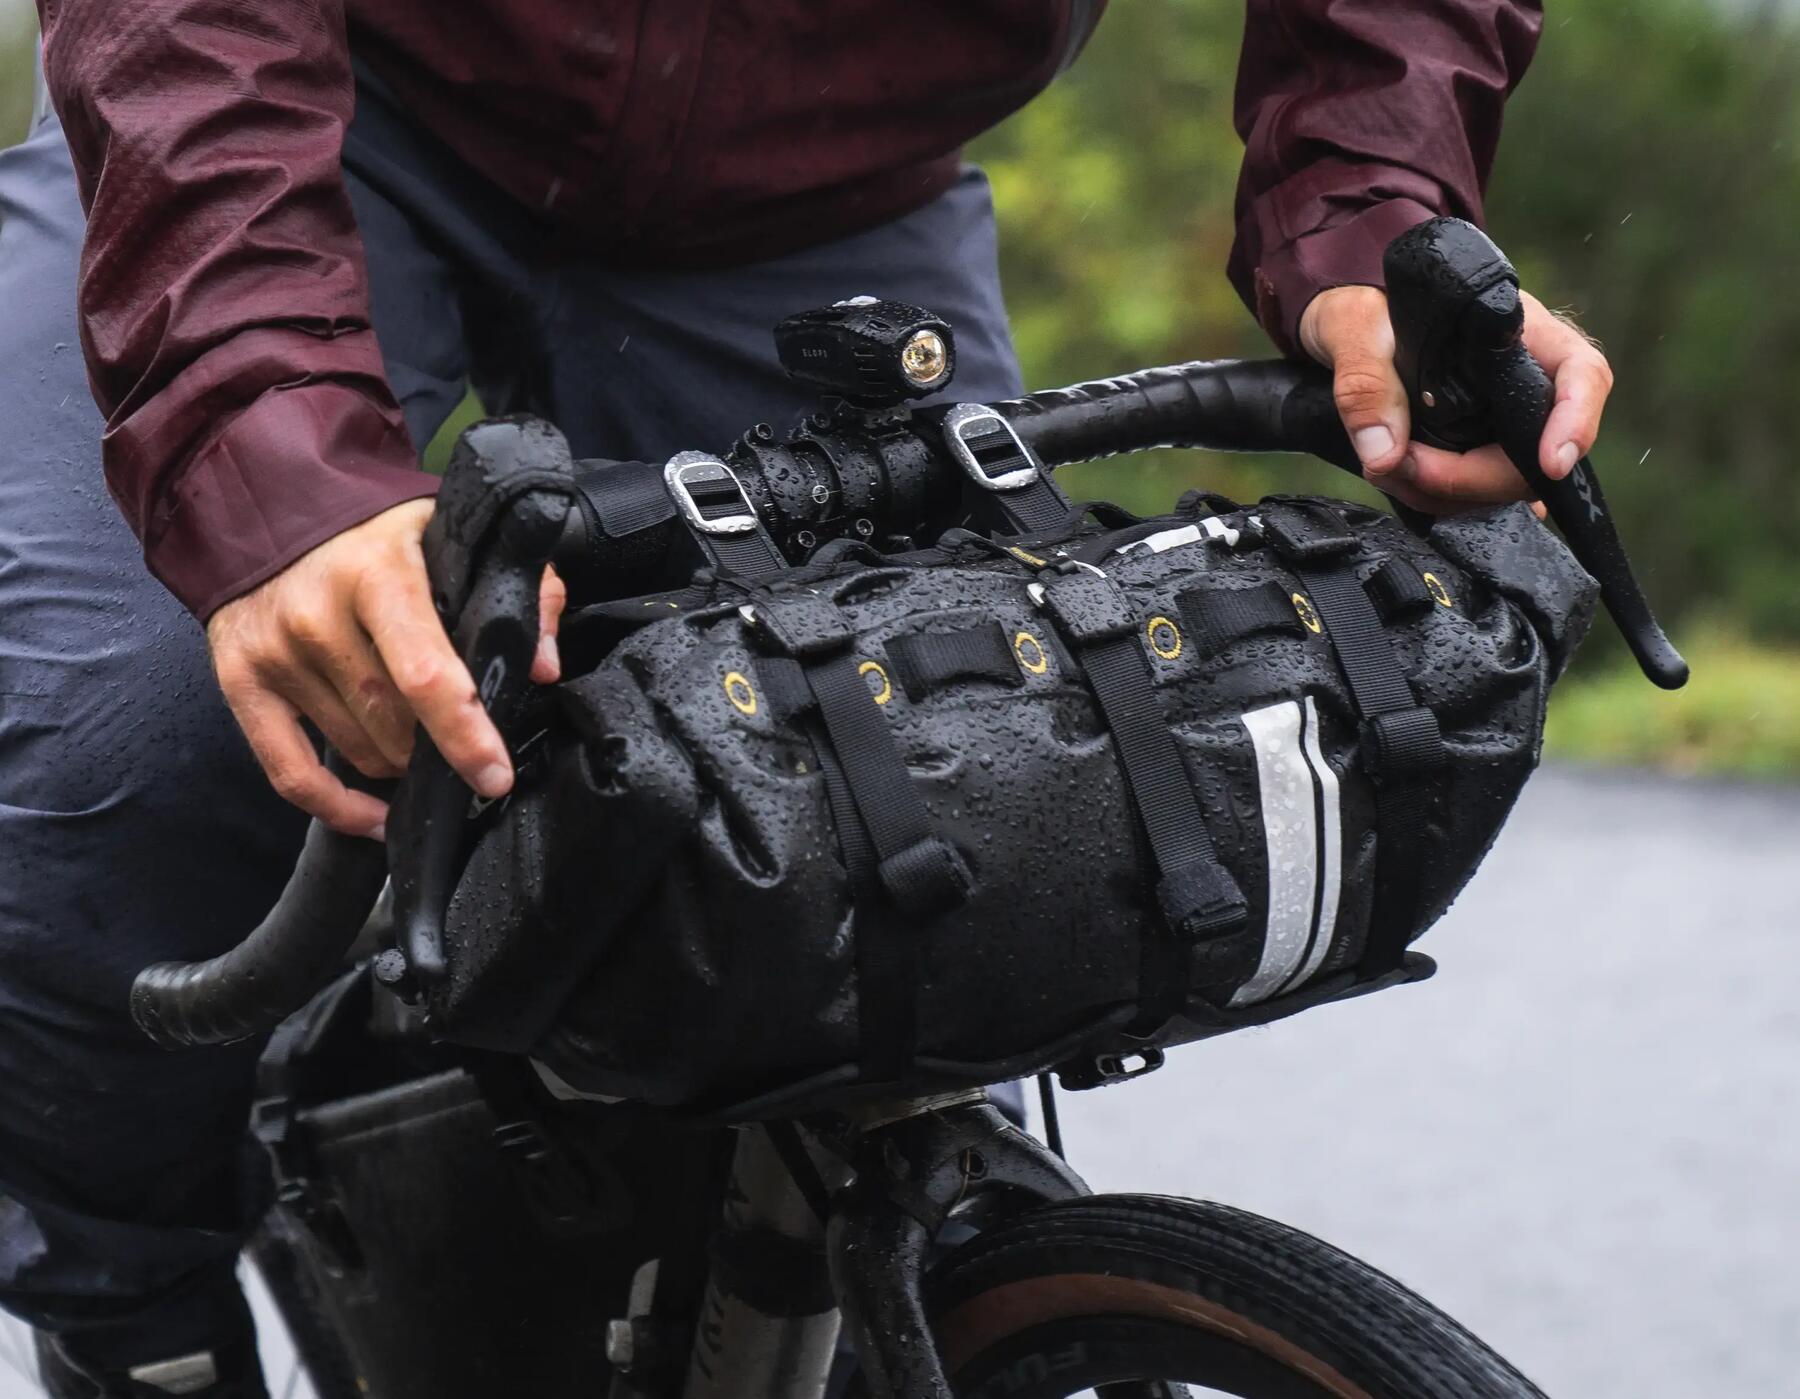
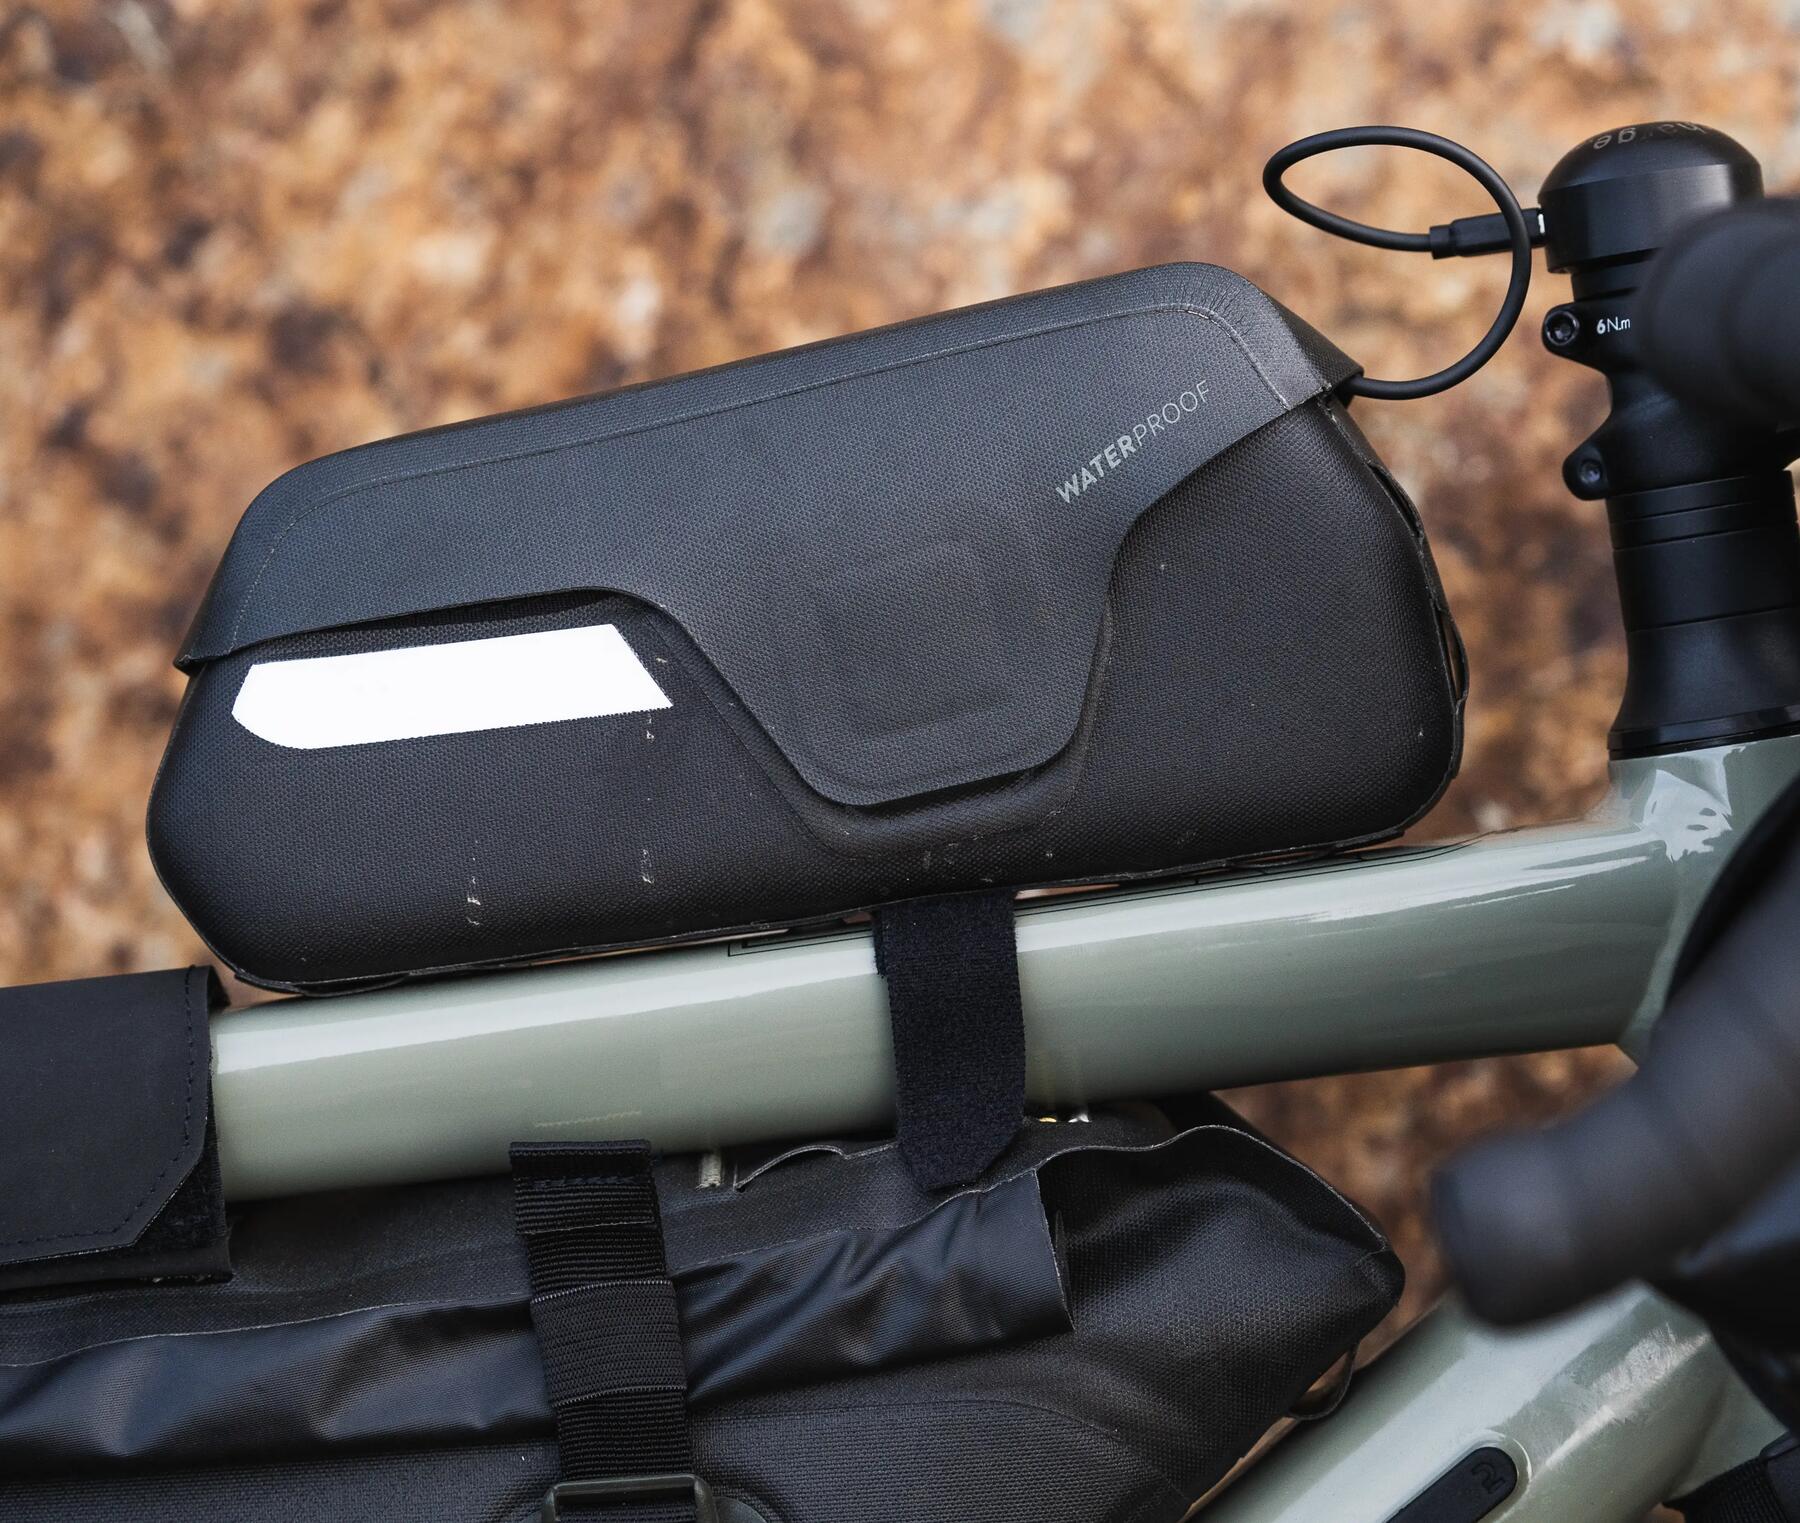
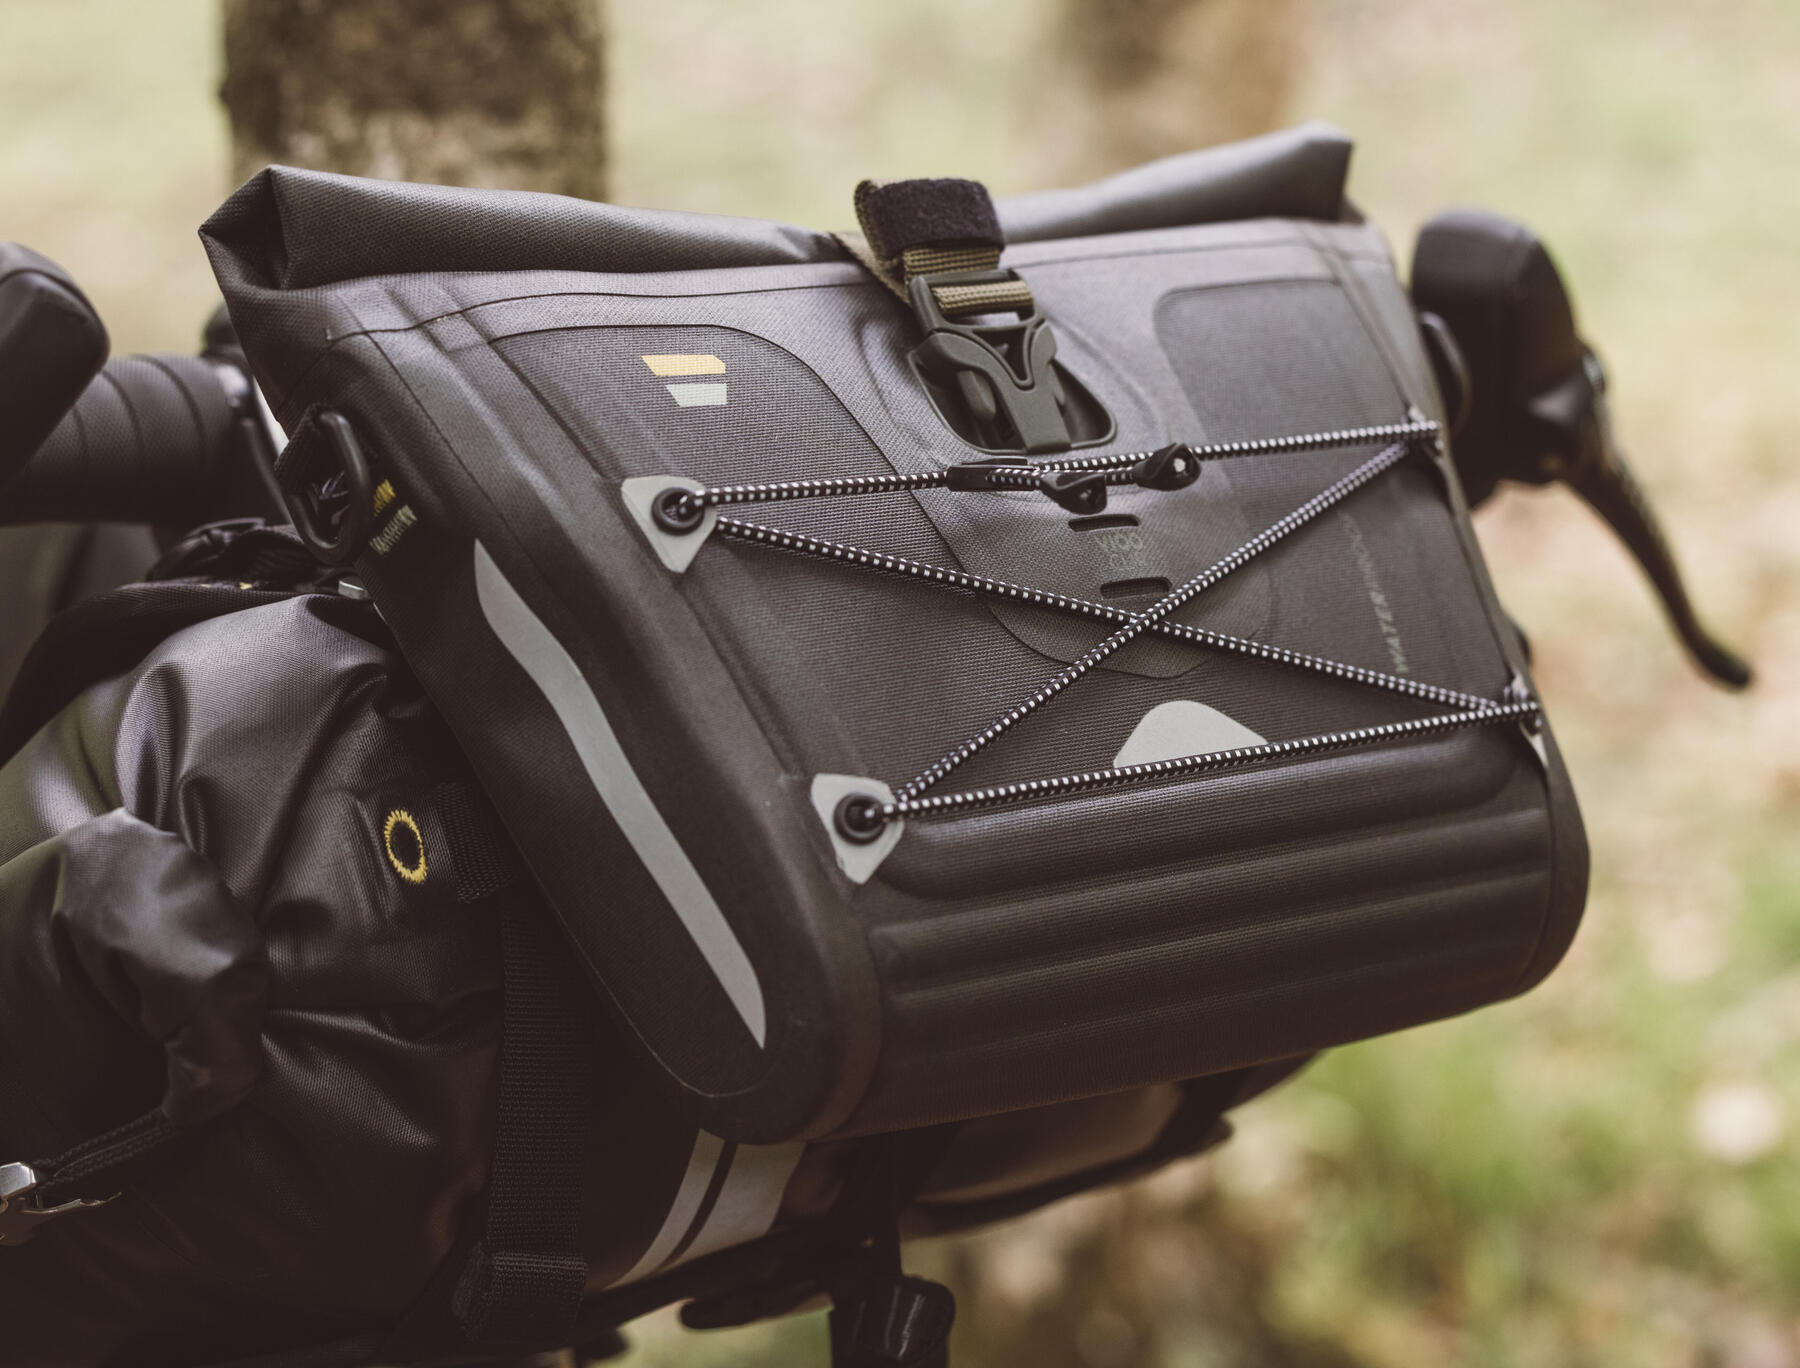
Once you've picked your bike, it's time to kit it out with bags!

Bikepacking bags have limited storage space, so it's important to keep everything neat and tidy inside your bags. Let's take a look at where to put which items, and which equipment is an absolute must.

2/ Bikepacking equipment

Which bikepacking bags should you choose?

How to equip your gravel bike for bikepacking

The frame bag

This is the bag that's going to affect your bike's behaviour the least, because it's closest to the bike's moment of inertia. It's therefore a good place for heavier items. On top of that, it's relatively accessible, so people generally use it for things that they might need during the day. I use mine for my repair kit, wet or cold weather kit (to be used in the event of bad weather or long descents), and a few snacks.

How to equip your gravel bike for bikepacking

The saddle bag

As for the saddle bag, it can really affect your bike's behaviour, particularly when you're standing on the pedals. If you have a carbon seat post, it could be damaged by the bag rubbing against it, so you shouldn't put too much weight in this bag. After all, the rear wheel is already carrying most of your body weight. Saddle bags aren't easily accessible, so you should only use them for the things you'll need once you've stopped for the evening. As you can imagine, I use them for my sleeping bag and mattress. You'll need to make sure all the straps are really tight so that the saddle bag doesn't swing from side to side.

How to equip your gravel bike for bikepacking

The handlebar bag: where to put your tent

This is the least accessible of your bags, and the one that's going to change the behaviour of your bike the most. You can load it up with heavy items because your bike's front wheel doesn't carry much of your body weight. It's where I keep my tent. If you're using flat bars, don't worry: it's very easy to install. If you have road bars, make sure you test or measure the bag and your handlebars before buying because, with certain manufacturers, you might have trouble fixing the bag to the handlebar without getting in the way of the gears.

How to equip your gravel bike for bikepacking

Fork bags

Recently, I've added bags to my fork, which considerably increases the amount I can carry. In these bags, I put my camping stove, cookware, a few meals and some spare clothing. The dry bags are fixed to a harness that attaches to the fork using a very simple strap system, making them quick and easy to put on and take off.

How to equip your gravel bike for bikepacking

The top tube bag and food pouch

What is a top tube bag? As the name suggests, it's a small, easy-access bag that sits on top of your bike's top tube. It's a great place to stash the things you need regularly: cereal bars, snacks, keys, ID, wallet, electronics, etc. The top tube bag is also one of the only bikepacking bags that I leave on my bike even if I've taken off all my other bags for a day without lugging my kit around.

So where does the food pouch come in?
The food pouch is a bottle-cage-shaped bag that fixes onto your handlebars. It can either take an extra bottle if you need a lot of water, or serve as an all-purpose bag.
Personally, I put my portable speakers and sunglasses in there. I sometimes also put a few cereal bars or pieces of fruit in it too (a banana or clementine). Plus, I use it as a bin! It's really useful because it doesn't have a zip and can be opened and closed with one hand, so it's the most accessible.

How to equip your gravel bike for bikepacking

The handlebar accessories bag

This is the bag that you really mustn't lose! Personally, I use it for all of my electronics (head torch, various battery packs and cables, headphones, speaker), my ID and my wash bag. It's very easy to access and is clip-on so you can take it with you whenever you stop or go for a walk.

How to equip your gravel bike for bikepacking

What about water? where should you put your bottles?

Bikepackers need to be well-stocked with water in warm weather or in relatively isolated areas. If you decide to do without a frame bag, you can attach bottles to your frame. You can also attach two bottles to your fork if you decide you don't need a fork bag. Another option is to put a water bladder in your frame bag.
Personally, I use a system with a flask behind my saddle as it has the added benefit of stabilising my saddle bag. In summer, when I need more water, I simply add two bottle cages to the handlebar!

Tip: how to avoid scratching your frame

Watch out: with gravel bikepacking, the going is much rougher than on roads, so you really need to make sure everything is securely battened down to avoid scratching your bike's frame. You also need to make sure the straps are tight. Nothing should be rubbing, so check your brackets and harnesses thoroughly. If you're worried about your frame, a good option is to apply some sticky tape or protective stickers to the parts where your bags will go, or to the seat post.

With all these tips up your sleeve, you're now ready to dismantle your pannier rack and throw yourself into the world of bikepacking!

3/ Which kit should you take bikepacking?

Everyone needs different things. I'm a bike nomad and literally live on my bike, which is equipped with all the bikepacking bags mentioned in this article. Here's what I carry with me:
- Bivouac: 2-man tent, sleeping bag, inflatable mattress.
- Food: camping stove, camping pan, cutlery, two bottles of water.
- Clothing: an outfit for wet, cold, wintry weather, and a summer outfit.
- Electronics: smartphone, headphones, speaker, head torch, cables and battery packs.
- Repair kit: multi-tool, master links, pump, two inner tubes, tyre levers.

No matter which bike you choose to ride, which bags you take, how far you plan on going and how independent you want to be, always remember the ABC of cycling: weight is the cyclist's enemy. Travel as light as possible - your knees and ankles will thank you for it. Take kit that you've tried out already and know well, and prioritise standard kit so that you can find replacements if anything breaks, wherever you might be. See you on the road!

How to equip your gravel bike for bikepacking

Maximilian

French-German, born to expats, I consider myself more a citizen of the world than anything else. The desire to discover new landscapes, new cultures and new languages, together with my passion for endurance and pushing myself to new limits, has led me to dispense with a permanent roof over my head. I am now a bike nomad, continuously in search of the next challenge. THE BIKE: my ticket to freedom, which I love to share with all those who cannot or do not dare to make the jump.

These contents may interest you

How to choose your bikepacking bags

How to choose your bikepacking bags

What type of bag should you take on a bikepacking trip? Check out our tips to find the set that suits your needs best!

Bikepacking: 15 tips on packing your bags

Bikepacking: 15 tips on packing your bags

Preparing all your equipment and packing your bags is an integral part of the bikepacking experience and can make or break your journey. Which type of luggage should you use? How should you pack your things? Here are 15 tips to get you on the road in the best conditions.  

bikepacking travel bike

What is bikepacking?

Travelling light with bags that attach directly to the different parts of the bike: bikepacking is a new way to travel by bike. On a quest for light weight and freedom, bikepackers are explorers who venture off the beaten path.

EQUIPMENT LIST FOR A BIKING TRIP

EQUIPMENT LIST FOR A BIKING TRIP

Thanks to our list of equipment to take on a biking trip, you'll never forget the essentials and avoid taking more than you need.

What kit do you need for gravel biking?

What kit do you need for gravel biking?

Have you just started gravel biking but aren't sure what equipment you need? Here's our list of everything you'll need to ride comfortably!