1/ Which bags are best for bike touring?
How should you carry your belongings when bike touring? In bags, of course! This is the most common solution used by those in the know. There are two main types of bags used for touring:
Want to know the best way to fit everything onto your bike when touring? Follow our advice to find out how to pack your bags!
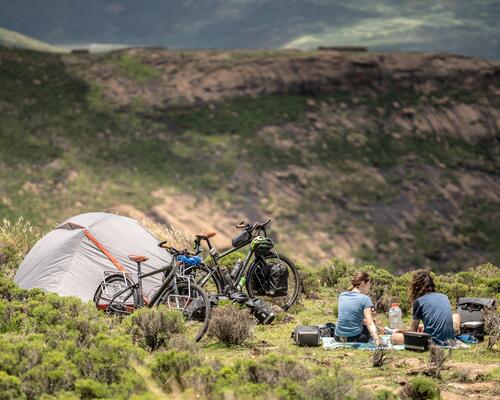
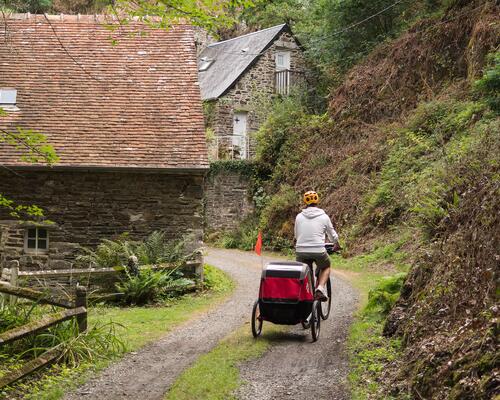
Even if you're not going away for very long, bike touring means living a nomadic existence. When you're on the road, your bike is so much more than a mere vehicle; it becomes a miniature, mobile version of your home. It needs to replace your wardrobe, your kitchen cupboards, and even your bathroom cabinet! In other words, it needs to carry everything you could possibly need for your ride.
But how can you squeeze everything into so little space? By getting back to basics! Draw up a shortlist of your equipment, trying to strike the best balance between weight and convenience. And remember that reducing the weight of your baggage isn't the only thing you can do. You can also optimise your luggage system. Which is the best option for carrying your belongings: a bag, a basket or even a trailer? Can you get different types of bags? Is it better to have two or four? What's the smartest way to pack and position them? Here are a few tips on organising your mobile storage as efficiently as possible!
How should you carry your belongings when bike touring? In bags, of course! This is the most common solution used by those in the know. There are two main types of bags used for touring:
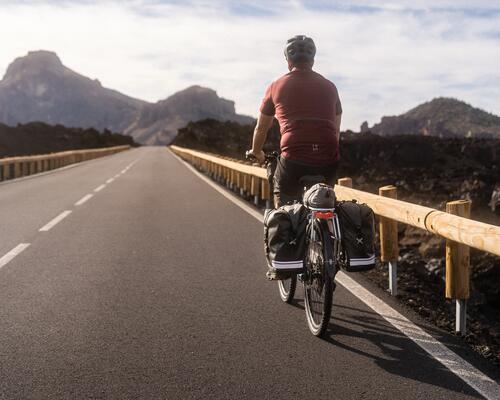
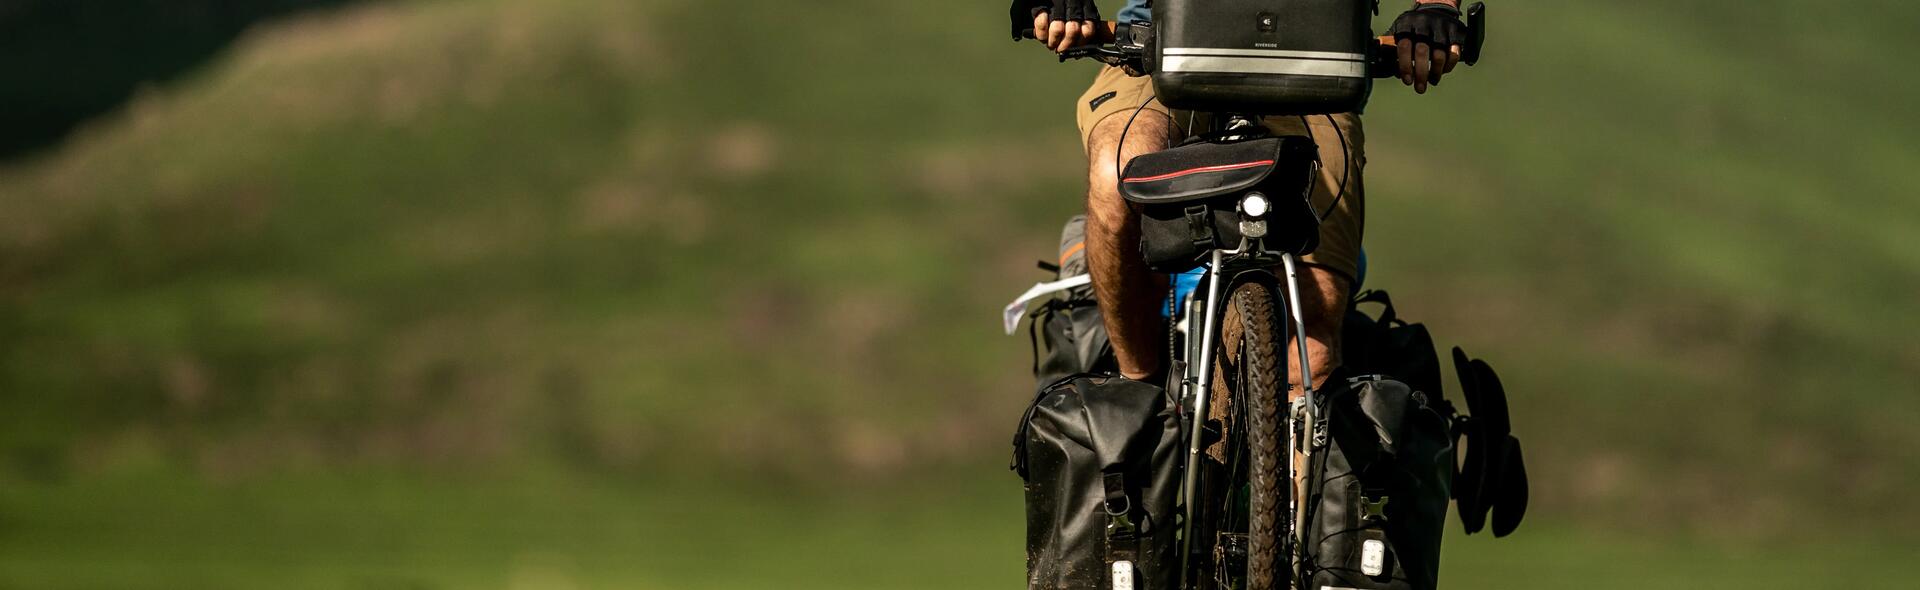
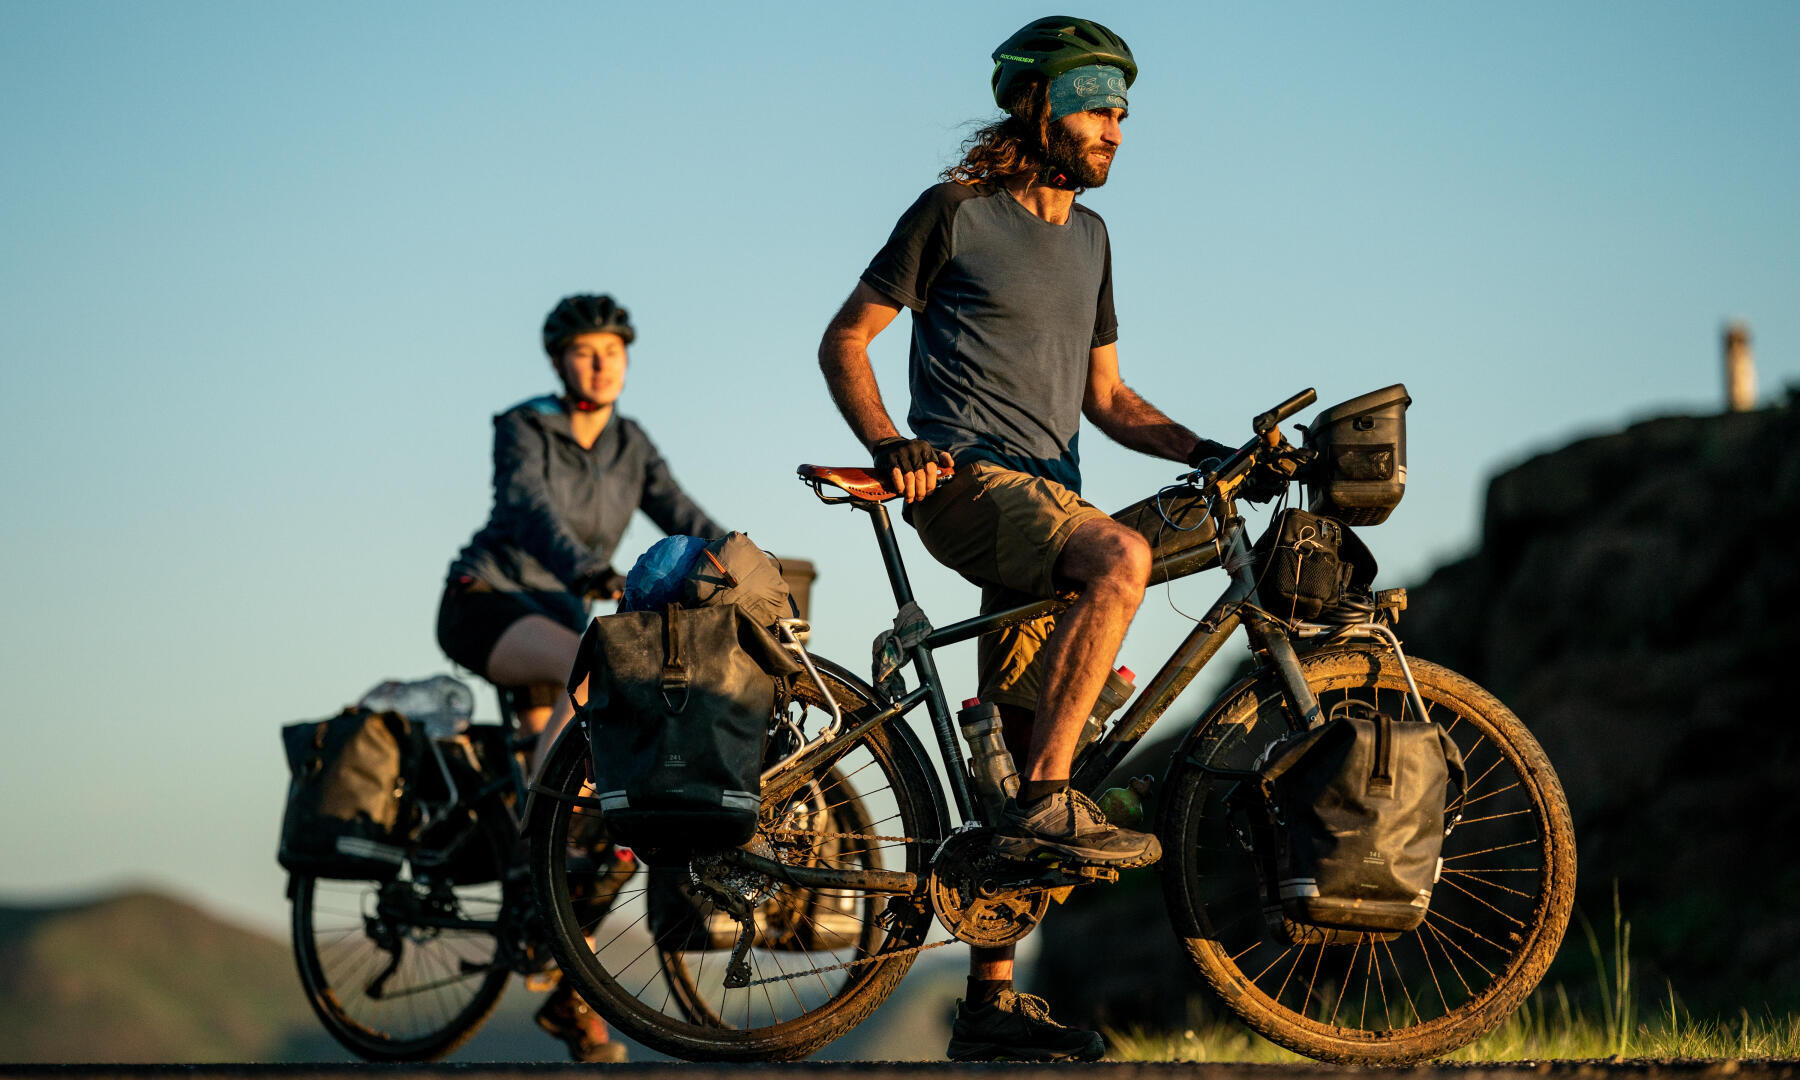
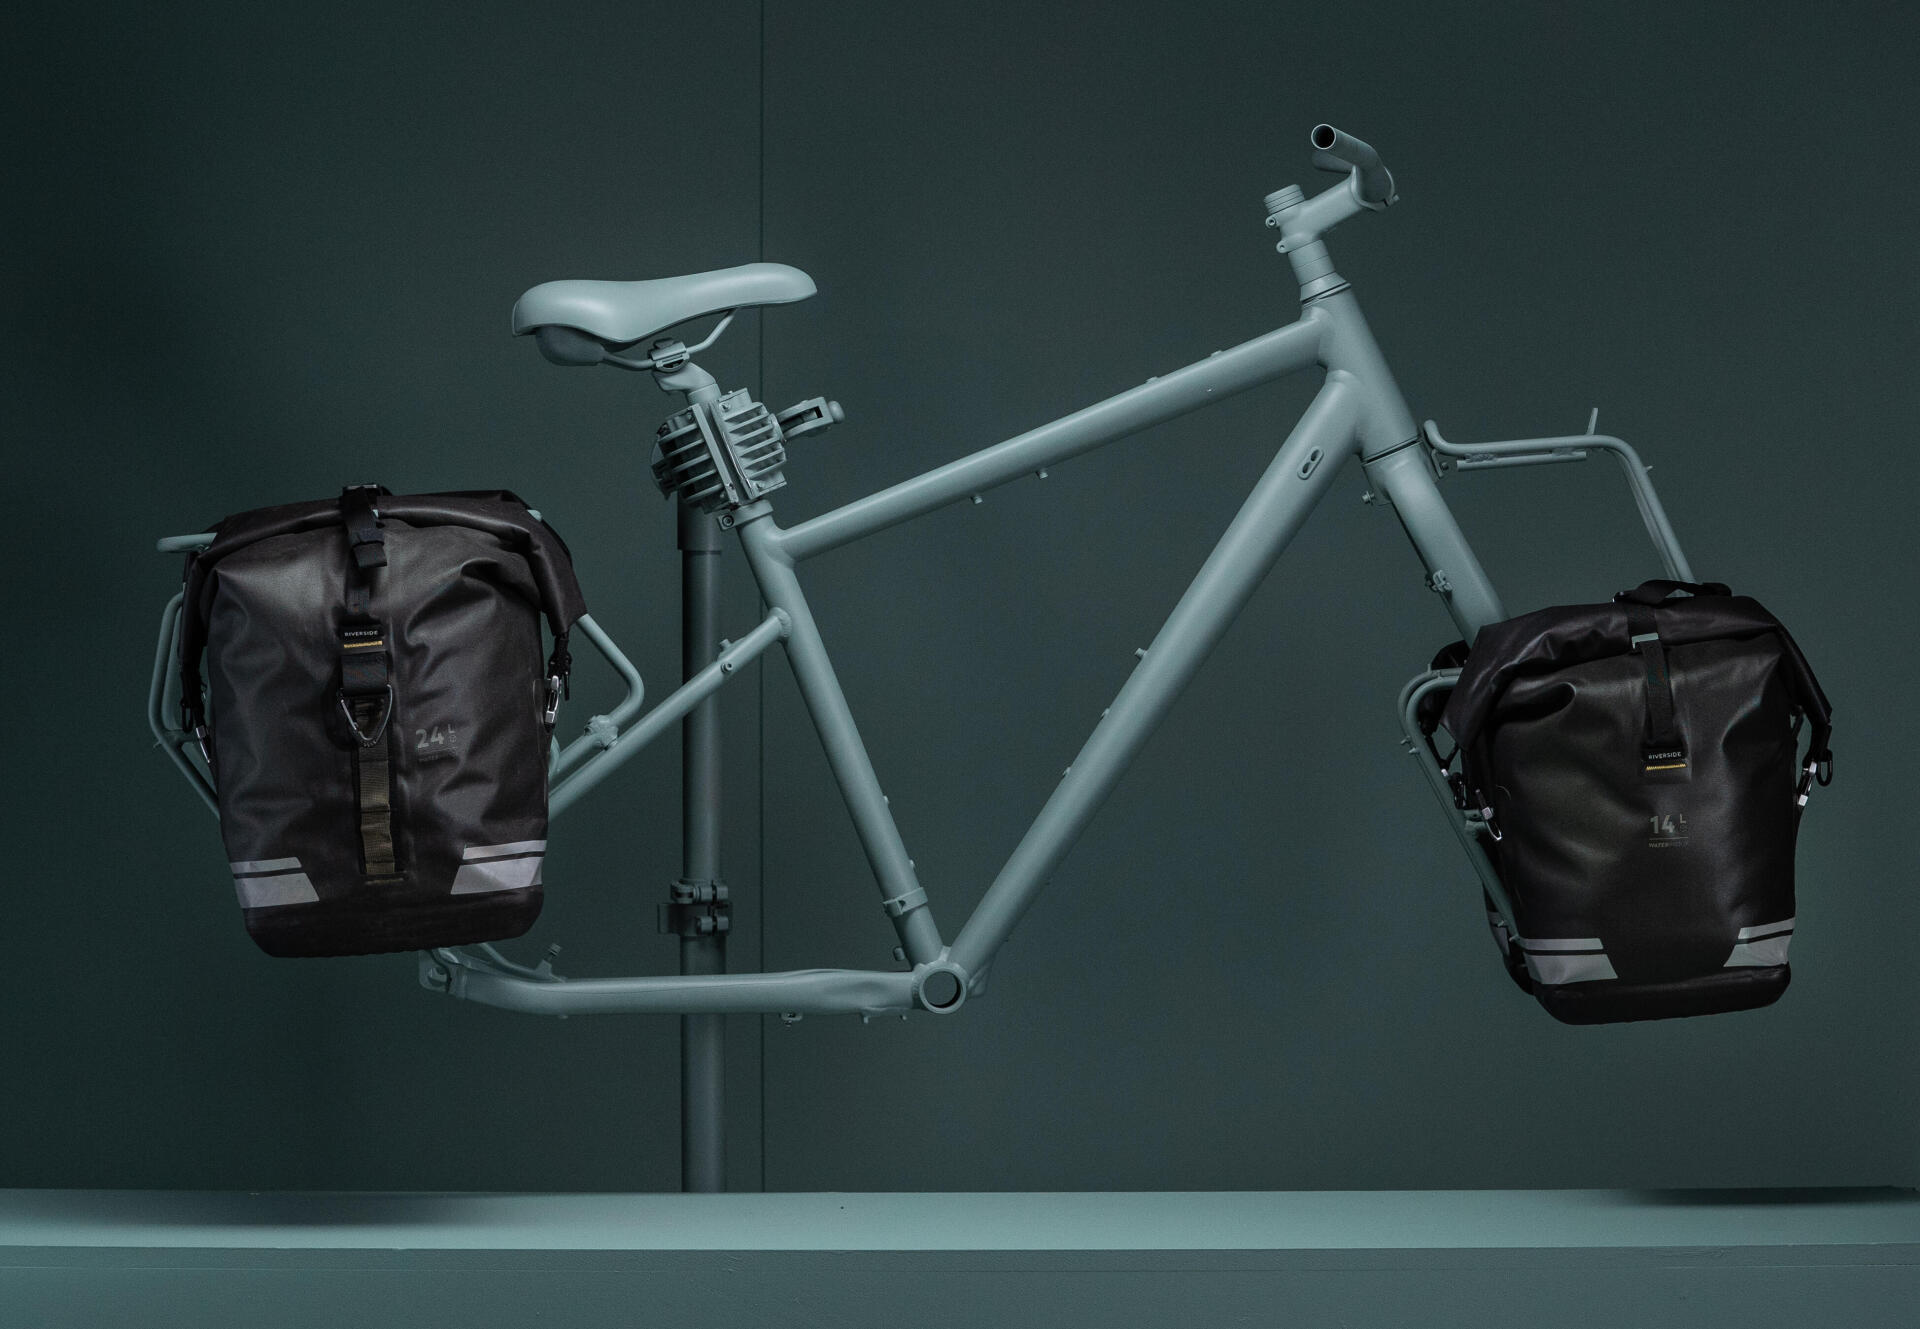
These are by far the most popular. These traditional bike bags, which sit either side of the bike at the back and/or the front, have been used by generations of bike tourists. To attach them to your bike, you'll need one (or more) pannier racks.
So what are their benefits? Well, they're easy to use and very sturdy, but most importantly they're able to fit a lot of stuff inside them. The largest models can hold more than 25 litres or around 15 kg of equipment. Which means that you can travel completely unsupported while still having room for a few treats or creature comforts (a book, small musical instrument, Thermos flask, small pillow, etc.).
Pannier bags generally consist of a single, large, central pocket, but sometimes they might come with other pockets too (flaps on the inside, extra outside pockets, net pockets, etc.). This is a great way to separate your kit! Be aware, though, that too many pockets can actually make it harder to find your belongings. More pockets also means more fastenings, so more risk of things breaking. In particular, be wary of poor-quality zips and clips that won't withstand intensive use for very long.
Many recent models are starting to include external storage or attachment options: bungee cords, retaining straps, carabiners and more. These systems enable you to keep a rain racket, long-sleeved jersey or other useful item easily to hand throughout your ride.
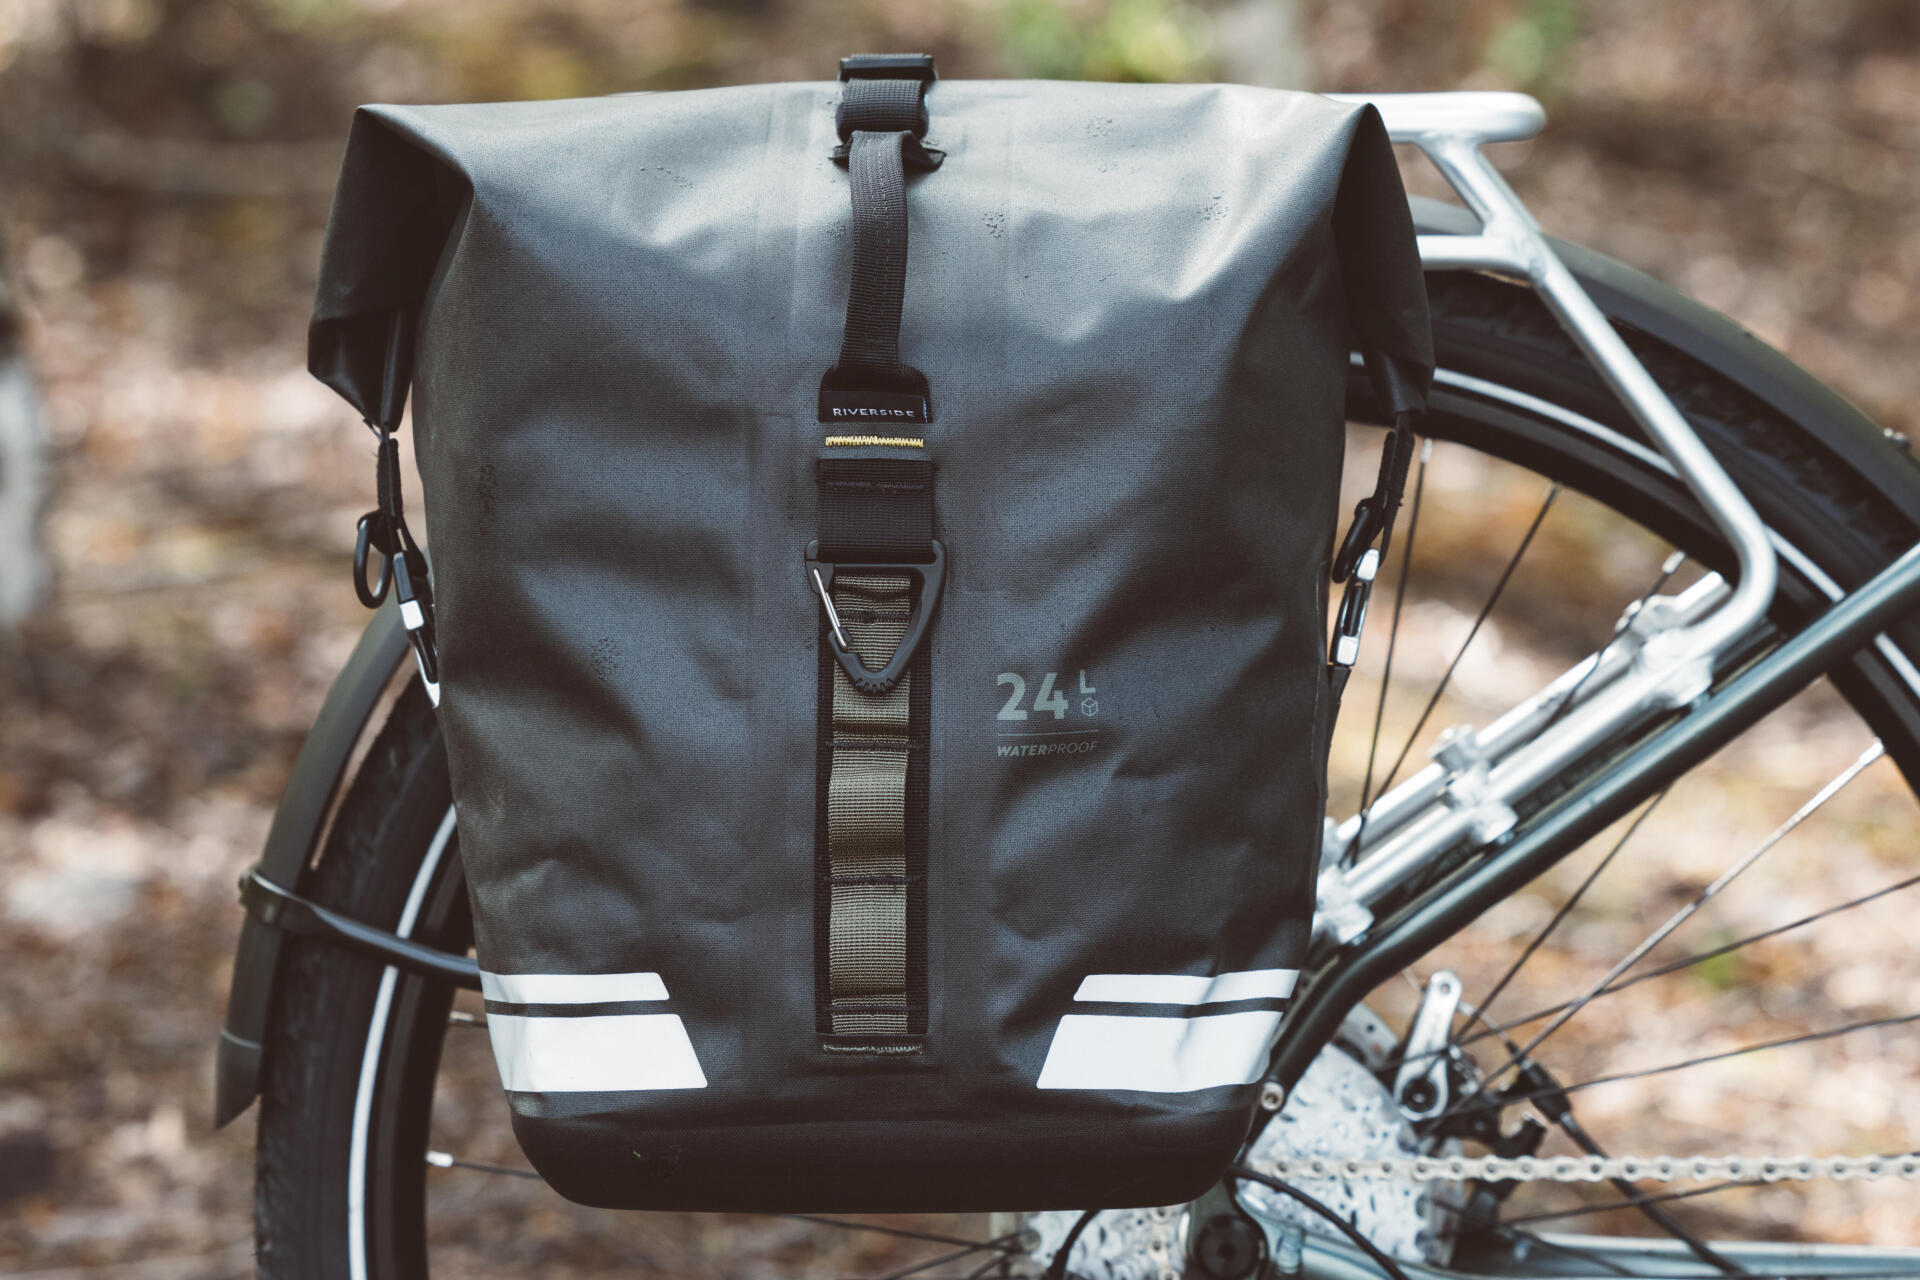
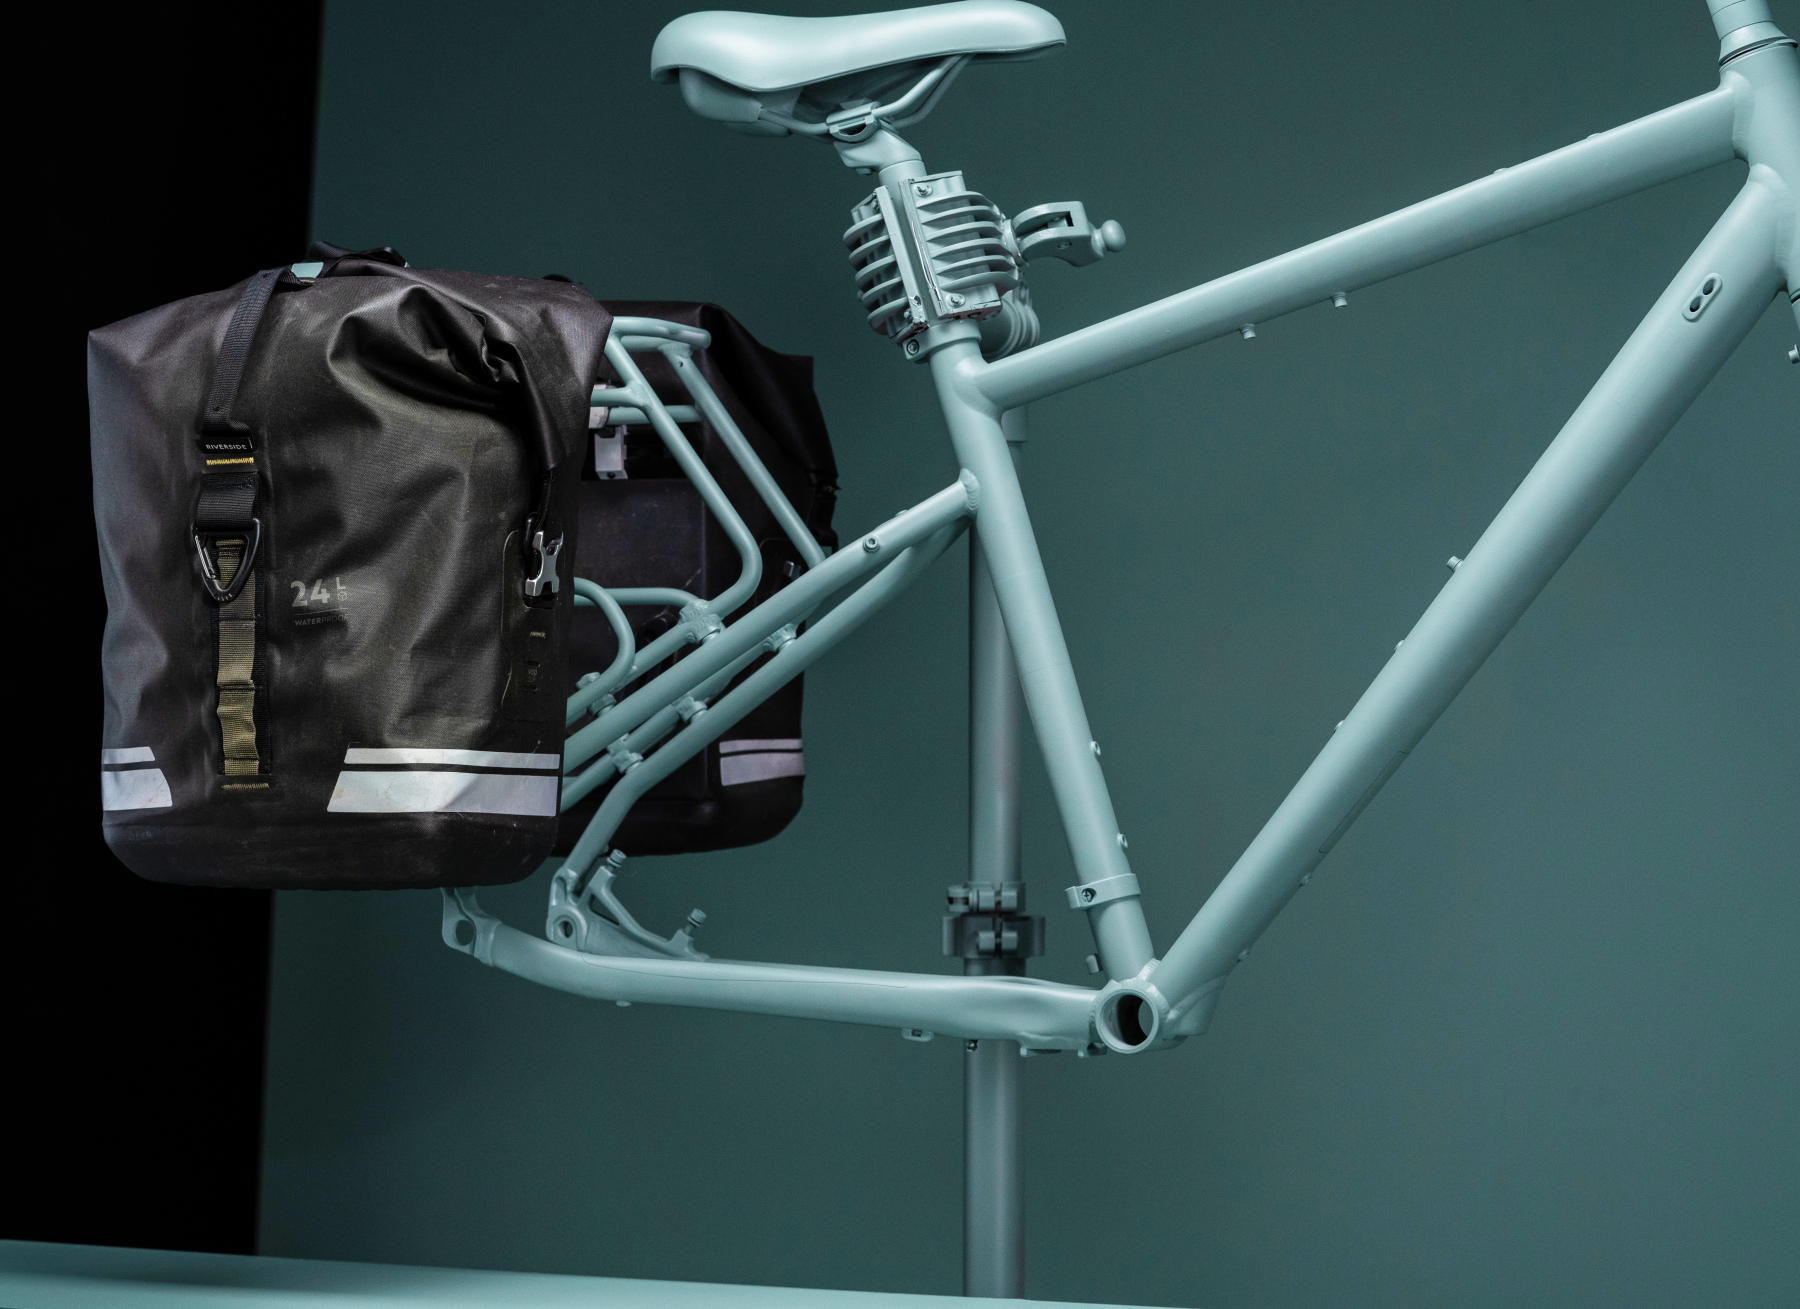
When bike touring, you're directly exposed to whatever the weather decides to throw at you. So, to keep your belongings dry in all conditions, opt for waterproof polyester bags (models that are only water repellent, rather than waterproof, will do fine for short rides in summer, and you can tuck a waterproof cover over the top if it does happen to rain). Pay particular attention to the fastening system. Bags with a rolltop system – like the one you'd get on a dry bag – are the most waterproof.
You should also consider how reliable the mounting system is. Some will be lockable, some will be adjustable, and some will be more durable or practical than others, depending on the brand. Is it quick and easy to attach the bag to the pannier rack? How about removing the bag? Can the mounting system be used on absolutely any pannier rack, or only certain brands? Is it made from durable materials? These are all things to consider to help you single out the best bag for your journey. It's also worth checking whether there's a hook or "shark's tooth" device on the back of the bag. This extra system locks the lower part of the bag in place. It's a great way of stopping your baggage bouncing around or swinging dangerously when jolted by uneven road surfaces.
Basically, when bike touring, it's best to have rolltop pannier bags so that your belongings will always be protected from the weather. Go for something with a sturdy design and a solid back, paying particular attention to how reliable the mounting system is.
Pannier bags:
Pros: large volume, easy to use, sturdy
Cons: they need a pannier rack, which changes the bike's size / weight distribution and can slightly affect its handling.
Giving you easy, instant access to its contents, the handlebar bag is the perfect partner for a set of pannier bags. It's a handy place to stow less bulky items that you need to keep to hand: camera, snack bars, sunglasses, etc. Since it's designed to hold valuables and more fragile belongings, it too needs to be completely watertight. It also needs to be easy to take off your bike and carry, e.g. with a shoulder strap, when you stop at the shops or to visit somewhere. If you're using a paper map for navigation, it's wise to get a bag with a see-through plastic map pocket on top.
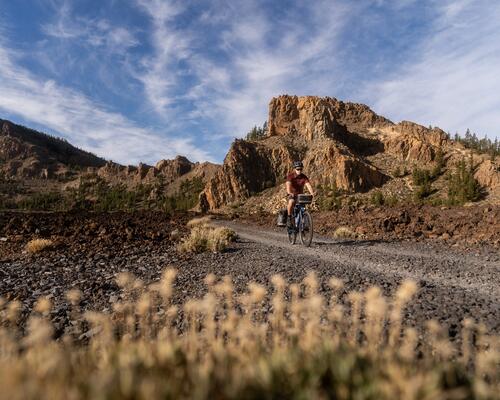
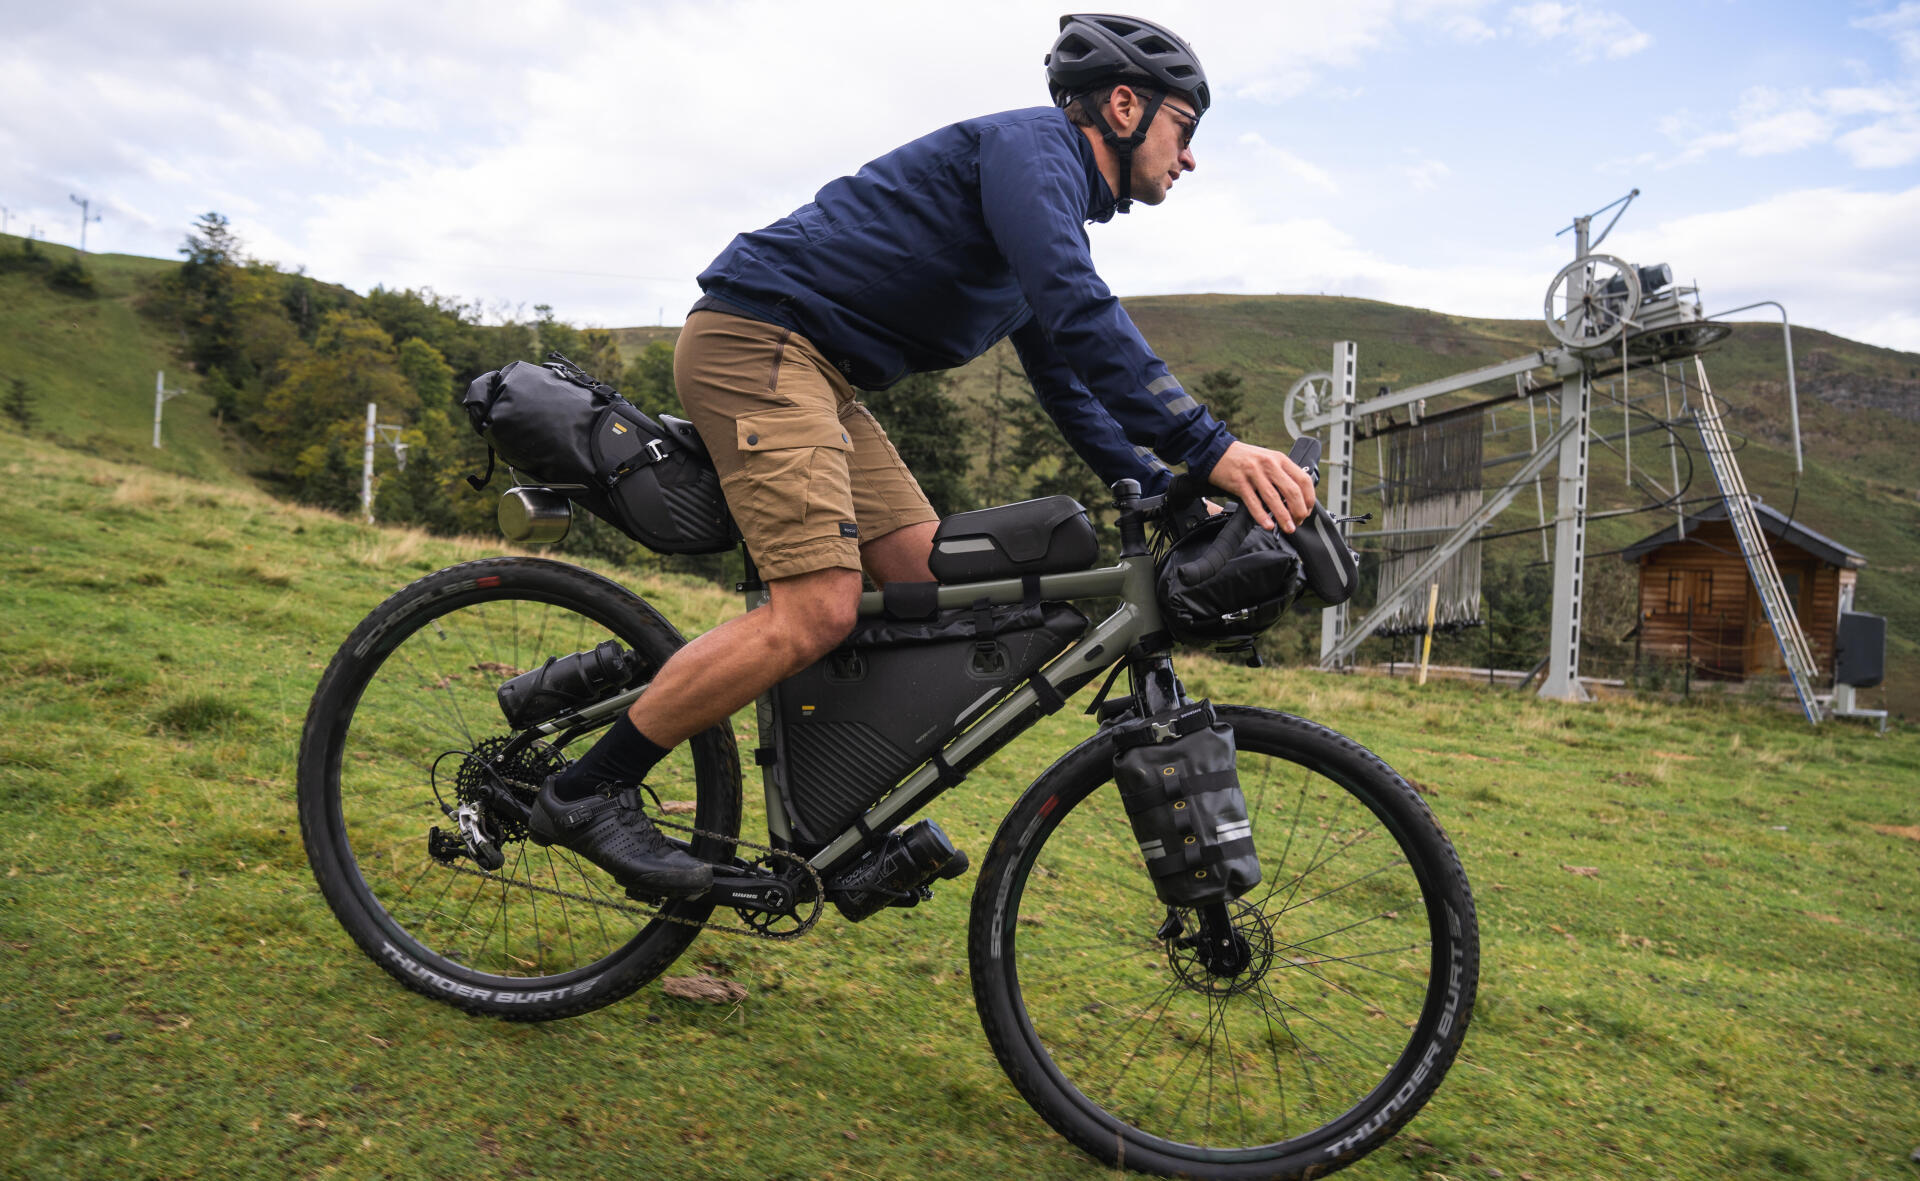
These bags have the advantage of not needing a pannier rack. They're tied straight onto the frame, handlebar or seatpost using straps or rip-tabs. This means that they can be used on any type of bike: trekking, gravel riding, road cycling, mountain biking, etc.
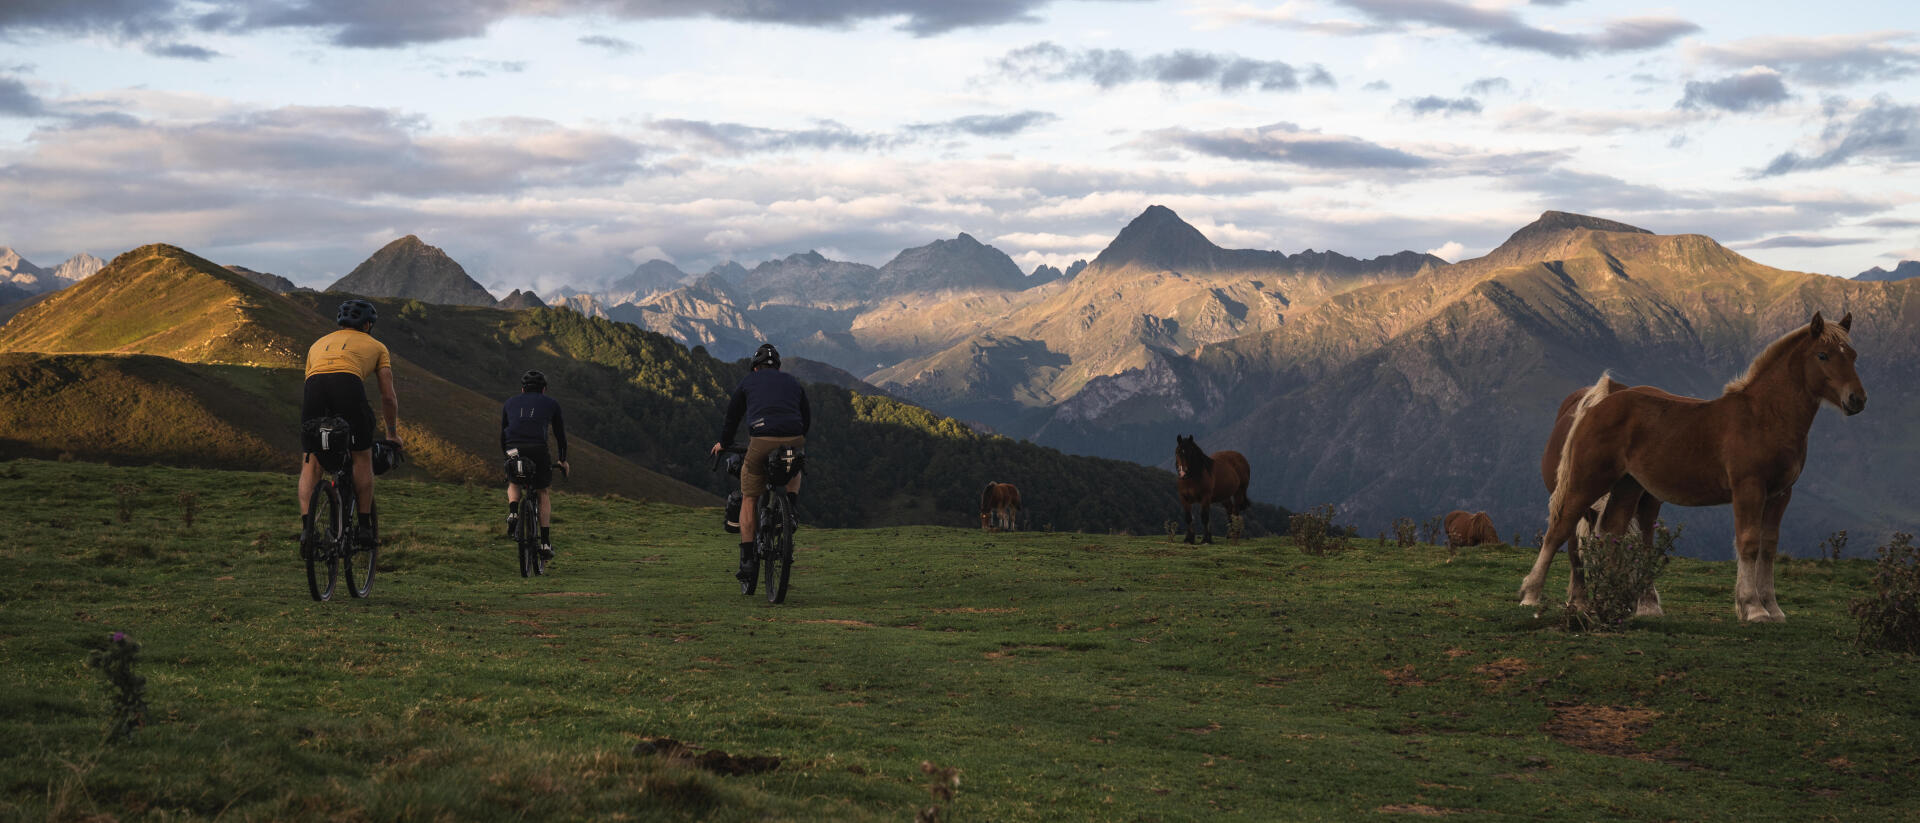
Another advantage is how compact they are. They fit snugly against your bike without sticking out too far to the sides, like a classic pannier would. This makes them perfect for winding your way down narrow trails or singletracks. Overall, bikepacking bags have very little effect on how your bike handles. You retain your usual level of control in all conditions, as well as being able to maintain higher speeds. And that's the whole point of bikepacking: it gives you the freedom to ride on any terrain without hindering the efficiency of your pedalling.
On the flip side, this minimalist approach to packing limits the amount that you can carry. Even the biggest bikepacking bags can only hold around 15 litres of kit. With bikepacking bags, you really have to think carefully about equipment versus convenience and aim to pack light – much more so than with traditional pannier bags.
Bikepacking bags also lose a few points when it comes to ease of use. Once you've stuffed everything into your saddle or handlebar bag, you'll struggle to get it out again during your ride. It's fiddly and time-consuming every time you open and close this type of bag. Remember that, if bikepacking is going to live up to expectations, you need to plan your ride to within an inch of its life!
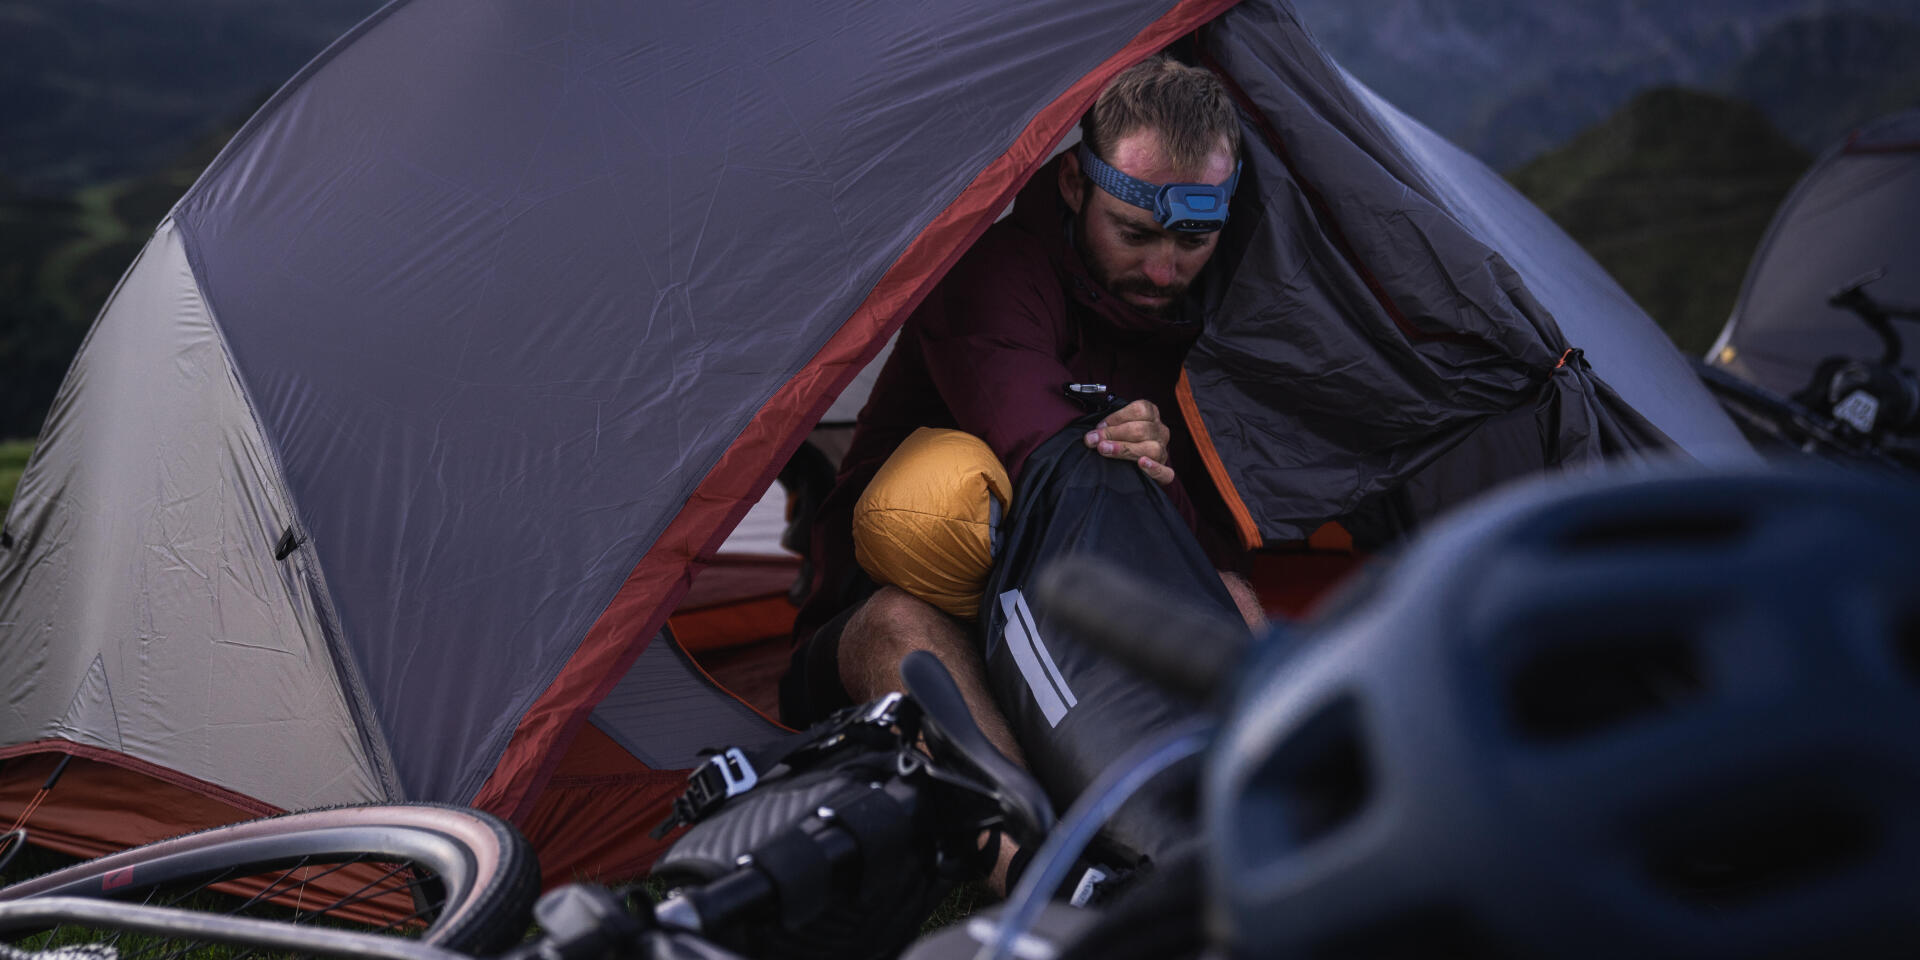
Speaking of which, hooking your bikepacking bags on and taking them off again requires more time and concentration than with a traditional bike touring set-up (pannier bags take mere seconds to mount). So much so that many bikepackers choose to leave their bags on their bikes the whole time. Which isn't especially practical when the time comes to bed down for the night. There is, however, a solution for this issue. Certain models, including the Riverside saddle and handlebar bags, have an independent rigid harness that can stay attached to your bike. The bag itself can be easily removed from the harness and kept inside your tent or bivvy. This type of system also enables you to fix your bag more securely to your seatpost, which stops it swinging around as you ride.
Like with pannier bags, if you're planning on bikepacking, it's worth getting yourself a model with a high level of waterproofing and sturdy finishes. And again, pay close attention to the seams and fastenings.
Basically, bikepacking bags are light and compact, and can be used on any type of bike, which allows you to ride efficiently on any terrain. The downside of this ultra-light luggage system is that you have to whittle down what you pack to the bare essentials.
Bikepacking bags:
Pros: compact, no pannier rack needed, streamlined with your bike, little effect on handling.
Cons: less space, harder to access.
Have you settled on which type of bike is best for your style of riding? There's still another question to answer: what are you going to pack? There are several things that will affect your decision:
- How long your journey will take: you probably won't need as much kit for a weekend away as you would for a year-long trip (fewer changes of clothes, fewer emergency snacks, etc.). However, this criterion probably isn't make or break. Anything longer than a week and you'll basically find yourself taking the same kit as you would for a long adventure lasting several months.
- The weather and your destination: is it forecast to be cold or wet? Pack accordingly (clothing, tent, sleeping bags, etc.) and have more space available than you need for your kit.
- Who is in your group: if you're travelling with two or three kids, you'll need to plan a bit more carefully than if you're going on a solo voyage. When touring with family, you'll need enough space for everyone's luggage. When alone, you can make do with packing light.
- Your accommodation and how unsupported you want your ride to be: this variable will have a major impact on your set-up. Choosing to ride completely unsupported means accepting that you'll need to carry your tent, food, cooking equipment, and more. Bike tourists who opt to stay in hotels and eat in restaurants don't need to worry about this!
- The need for efficiency: are you aiming to cover long distances or ride challenging terrain? The more bags you carry, the harder it'll be to rack up the miles or keep moving on tough routes!
Do you need to be able to carry a lot of things? Then go for all the trimmings! A pair of front bags, combined with a pair of back bags. The front ones will generally hold slightly less, but this super-sized set-up means you'll be able to take 40 to 50 kg of stuff with you.
Need even more space? A large waterproof holdall can be mounted sideways on your back pannier rack, resting on top of your pannier bags. This will give you a dozen or so more litres of capacity.
Are you happy making do with less kit? Then don't overcomplicate things! Two bags will do. There's just one thing to consider: front pannier bags, or back ones? Two schools of thought exist on this. Some people prefer to have their bags on the front because it has less of an effect on the bike's centre of gravity. The extra weight can even make the bike feel more stable overall. This configuration also relieves the load on the back wheel, which is already carrying more of the cyclist's weight than the front wheel.
All the same, riding with bags at the front slightly affects the handling and can take some getting used to. That's why certain people prefer to mount their bags at the back of their bikes, in a more "conventional" position.
The classic bikepacking set-up involves three basic bags: a handlebar bag, a frame bag and a saddle bag. But extra pouches and storage spaces will increase the amount you can carry with you. For example, you could have one or two top tube bags, one or two stem bags (perfect for keeping a drink or snack to hand), and one or two fork bags. These different options can be mixed and matched as you see fit.
Are you coming down on the side of bikepacking bags, or of pannier bags? Well, why not both?! There's no reason for you to pick sides. It's perfectly possible to have the best of both worlds with a hybrid approach. For example, why not combine classic pannier bags at the back with a frame bag and two fork bags? There are countless combinations to choose from. Everyone can customise their set-up to suit their particular needs.
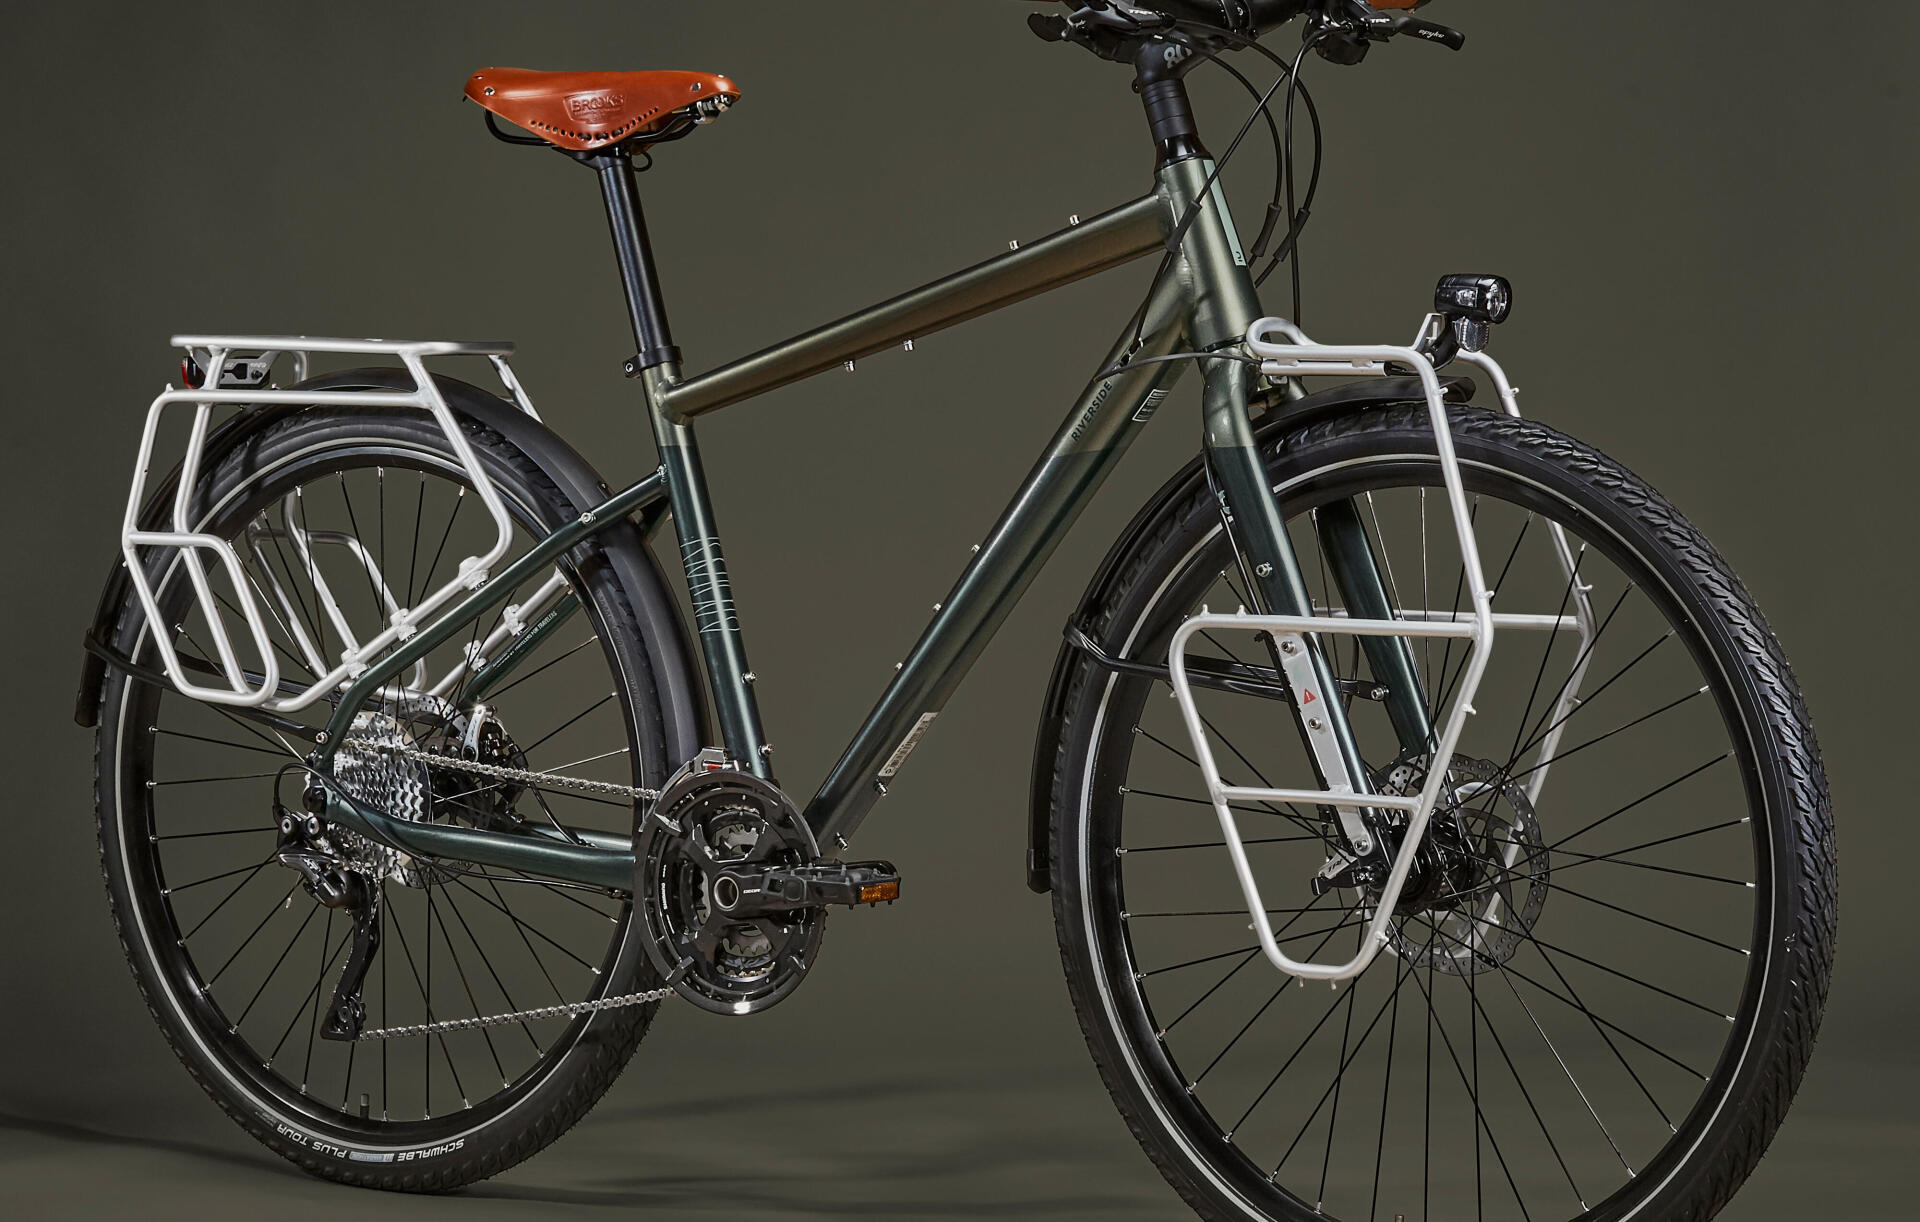
Not something to be overlooked! Bike touring really puts your pannier rack through its paces, what with the heavy loads, vibrations and more. Pannier racks are one of the most likely pieces of equipment to get broken. To reduce the risk of this happening, make sure to buy a sturdy bag. Check how durable the tubes are, along with the mounting points – most importantly, how many there are and the quality of their finish.
At Riverside, we've paid particular attention to how our touring and trekking bikes' pannier racks are designed. They're bolted to the rear stays in six places to make them especially durable, and can carry up to 40 kg of kit.
A rear pannier rack can also hold a child seat. But if you're mounting a child seat, you won't be able to have your pannier bags on your bike at the same time. To have both, you'll need to get yourself a pannier rack extender that shifts your pannier bags backwards, behind the child seat.
The vast majority of rear pannier racks need the bike's frame to have eyelets in it. But some models don't, and are instead installed directly on the seatpost. However, these pannier racks with a single mounting point do have a downside: they carry around 10 kg less than a normal pannier rack.
The most basic models, known as "low riders", consist of two independent elements fixed to each side of the bike at the bottom of the fork. They form a frame that you can hook a bag onto either side of the bike at wheel height.
There are also more complex models with a top structure straddling the front wheel. This type sometimes gives you a platform or rack that can be used to hold extra equipment, such as a tent. The Riverside trekking and touring bikes come with this type of front pannier rack. They can carry up to 20 kg.
A minimalist pannier rack. It's actually a bracket designed specifically for fork bags. The fork bag is attached to the cargo cage using straps or rip-tabs. As for the cargo cage, it's screwed onto the fork's eyelets.
It's an art... or maybe a science! Buckling on your bags can take a bit of practice. The first few times, you're not quite sure what to do and are kind of groping around in the dark. Here are some rules to follow and a few suggestions so that your bags don't get the better of you.
Just like at home, everything should have its place. Avoid rearranging all your belongings every time you take them out. The repetition of packing things in the same place will help you to draw up that mental map of exactly what you've got and where it is, and make yourself more "at home" on your bike.
For example, you wouldn't dream of putting your oven in the bathroom. So where possible, apply a similar logic to bike touring. Divide your belongings by category or by the key stages of your day (sleep, meals, riding, etc.). Keep all of your overnight things, including your wash bag and your inflatable mattress (if you have one), in a waterproof bag. Put your cooking things and whatever you'll need in the evening in another bag.
To help fit everything in, you might want to squash your belongings down using a compression bag. Choose containers in different colours to help you find your way around. You can also use removable partitions to separate your bag's main compartment into smaller pockets.
So that you always know what you've got with you and where you've put it, we recommend writing a detailed kit list. Keep it either on paper or on your phone.
Prioritise access to the items you're most likely to need on the go. Everything that needs to be within reach (camera, means of payment, sunglasses, etc.) should go in your handlebar bag. Use the top of your pannier bags for other things that might be useful on this leg of your journey: a picnic, a rain jacket, toilet paper, etc. Otherwise, you'll have to empty your entire bag onto the pavement to find the one thing you wanted!
Don't put all the heaviest items in the same bag. This will create an imbalance that could affect your ability to steer your bike (and increase the risk of crashing). For example, don't put your camping stove, gas canister, cooking pans and food cans all in the same bag! Even though they can all be classed as "cooking stuff", it's better to distribute them across two separate bags to balance your load.
Nothing looks more like a bag than another bag! To tell them apart, put a sticker or badge on them. The Riverside bags have a tag that you can use to instantly tell which one is which. This will save you rummaging around in the wrong place.
This tends to be the bulkiest bit of kit. To make your tent easier to carry, you might want to take it apart. Put the tent itself on one side of your bike, and the pegs on the other. If there are several of you riding as a group, you could even distribute these various items across all of everyone's bags.
You might want to consider tying your tent to the outside of your pannier rack or onto the platform of your front rack, if you have one. This will leave you more space inside your bags. Just remember to cover it with a watertight compression bag.
In the top of one of your pannier bags or in an extra storage pouch, such as a top tube bag. It's a good idea to make your toolkit easy to access and ensure it's stocked with all the essentials: puncture repair kit, set of Allen keys, multi-tool, plastic gloves, etc. All the things you'll need for servicing your bike (chain lube, etc.) can be stored somewhere a little less accessible, since you won't need to use them in the middle of your ride.
You'll struggle to find a home for large water bladders or very bulky bottles in amongst all of your other things. That's why it's best to pack your food and drink into multiple smaller containers. You can then easily spread them across all of your different bags. Go for classic cycling water bottles and flasks, which are easy to clean. As a back-up, a simple 1.5-litre plastic bottle will do just fine. If you want to keep your drink cool and your tea or coffee hot, get a Thermos!
As for your food stocks, keep a few sealable plastic bags (ones with a zip or rolltop) in your pannier bags. They can be used (temporarily) for any leftovers from your dinner, an opened tin of tuna, chopped fruit, etc. You can also use them to divvy up pasta, rice, etc. into the right portions.
While kids' trailers generally have two wheels, cargo trailers often come with just a single wheel. You can use them to carry things like bulky holdalls (around 90 litres, weighing more than 30 kg). This will considerably increase the amount you can take with you, or allow you to ride without pannier bags at all. That said, you'll definitely know that you're pulling a trailer behind you. It noticeably reduces handling on tight corners and will make uphill climbs much more sluggish. A trailer will also get in the way on public transport (coaches, trains, planes, etc.).
Another thing to bear in mind is that, since it's a single storage space, a large holdall doesn't enable you to easily separate your belongings as you would be able to with four pannier bags.
These can be installed on your rear pannier rack to increase your luggage capacity. They're particularly handy for giving you instant access to large items. Just remember that, with a basket or crate, it's harder to protect your belongings from the rain, unless you keep everything in a waterproof bag.
This type of container can also be fixed to the platform on your front pannier rack, if you have one. But this approach generally isn't compatible with using a handlebar bag.
We advise against wearing a backpack when bike touring. Days on end of riding with a heavy load on your shoulders can lead to neck pain, as well as to rubbing where the straps dig in.
However, a backpack can be very useful for carrying valuables when you stop off somewhere or go to do your shopping. Opt for a folding model that you can keep inside another bag when you're not using it, or get yourself a bigger backpack and strap it across the top of your pannier rack. And if you're determined to wear something on your body, consider a bumbag, like the hydration belts that mountain bikers use.
It can be hard to carry all your bags with you when you need to do the shopping or want to visit somewhere. You'll most likely need to leave your belongings unsupervised on your bike while you're away. Although you can get cable locks to attach your bags to your pannier rack, they're primarily designed to discourage would-be thieves. They'll deter a bag-snatcher, but won't put off a determined thief with all the right equipment. Above all, they won't stop people from opening your bags.
You won't be surprised to hear that bike touring means being very trusting! To reduce the risk of your belongings being pinched, park your bike in a busy area and ask somebody nearby – such as a shopkeeper – to keep a discreet eye on it. They might even offer to put your bike in their storeroom or somewhere else lockable while you're doing your shopping.
At any rate, make sure your valuables (wallet, ID, camera, etc.) are in whatever bag you take with you. If you're travelling in a group, designate one person to keep an eye on everyone's bikes.
That said, there's no reason to worry too much. Thefts and malicious bag-openings are very rare.
You now have all the tricks up your sleeve to choose the right bags and organise your belongings efficiently on your bike. And you're sure to be perfectly at home in your house on two wheels! All that remains is to get pedalling and embrace the adventure of being a bike nomad!

A fan of cycling in all its forms. Particularly enjoys taking the scenic route. Has equally fond memories of the Great Divide, Paris-Cape Town and Scandinavia as he does of crossing the Pyrenees, cycling the Millevaches plateau and riding around Picardy! Loves a good climb, because it's a natural high - both figuratively and literally. Rides alone, as a couple and as a family. Endeavours to convey the call of the road in his books. Author of "A vélo, 50 itinéraires pour pédaler le nez au vent" published by Gallimard.